Sunday, November 2, 2014

Red curry and coconut bread - the most unusual bread I have ever made

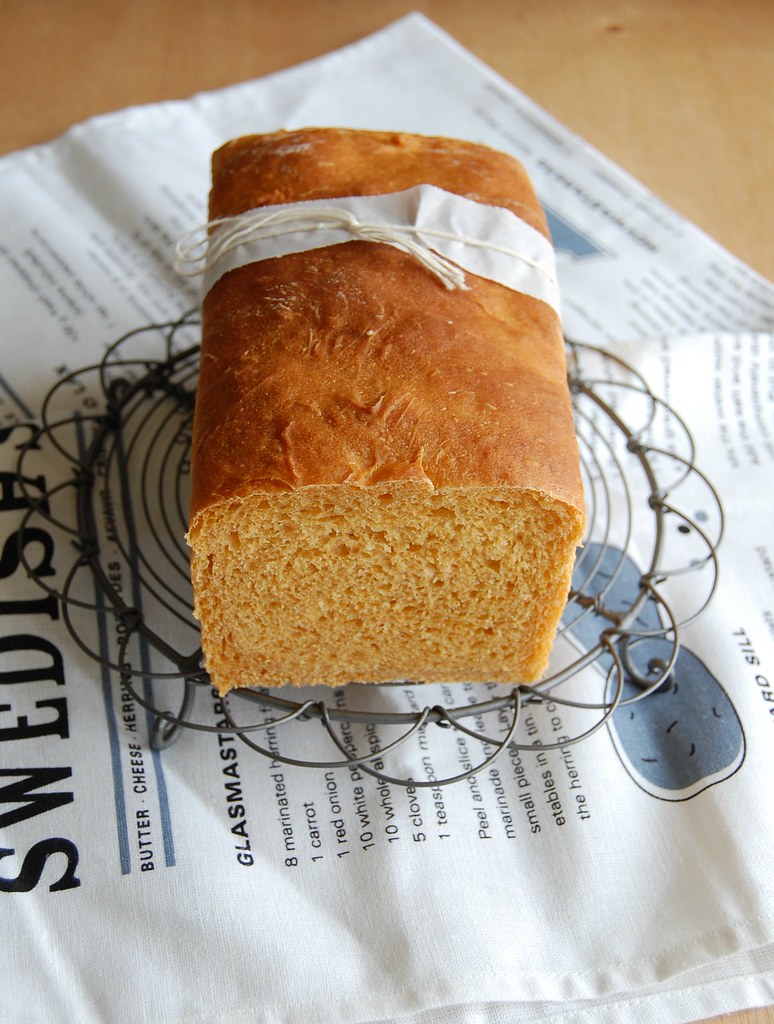
Red curry and coconut bread / Pão de pasta de curry vermelha e coco

Months ago I purchased a very interesting cookbook filled with recipes of bread and soups, two things I deeply love. I patiently and eagerly waited for the cold days of winter to show up around here, but unfortunately this year they were a handful only – it’s been hot for so long it feels like summer never ended.

For that reason, I postponed the plan of making the delicious soups I saw on the book and decided to focus on the bread instead: the recipes looked equally flavorsome.

I started with the one I found the most unusual bread, a loaf made with red curry paste and coconut – I had some paste in the fridge and could not wait to discover how it would flavor the bread. The loaf turned out very unusual, indeed, and I’ll admit it: it’s not everyone’s cup of tea – one has to like spicy food to enjoy the bread.

I thought it tasted great with a simple vegetable soup (the temperature dropped a day after I baked the bread, go figure), but I found that the killer way of having this bread was turning it into grilled cheese – it was delicious beyond words.

Red curry and coconut bread
slightly adapted from the delicious The Soup & Bread Cookbook: More Than 100 Seasonal Pairings for Simple, Satisfying Meals

scant ½ tablespoon dried yeast
½ tablespoon granulated sugar
100ml warm water
1/3 cup (80ml) unsweetened coconut milk
1 ½ tablespoons red curry paste
½ teaspoon table salt
2 cups (280g) all purpose flour

Place yeast, sugar and water in a large bowl and stir to combine. Set aside until foamy, about 5 minutes. Add the coconut milk, curry paste, salt and flour and mix until a dough starts to form. Cover and set aside for 15 minutes.

Knead for about 10 minutes (or 5 using an electric mixer) or until smooth and elastic. Place onto a large lightly oiled bowl, turn to coat, then cover with plastic wrap and set aside in a warm place for 1 hour or until doubled in volume.

Butter a 21.5x11.5cm (8.5x4.5in) loaf pan (6-cup capacity). Transfer the dough to a lightly floured surface and roll it into a 20x30cm (8x12in) rectangle. Roll it tight to form a cylinder, then place onto prepared pan. Cover and set aside again for 45 minutes – in the meantime, preheat the oven to 200°C/400°F.

Bake the bread until golden and loaf sounds hollow when tapped, about 30 minutes. Cool in the pan over a wire rack for 5 minutes, carefully unmold and transfer to rack to cool completely.

Makes 1 loaf

Friday, October 31, 2014

Fish kibbeh - a delicious and healthy way of cooking fish

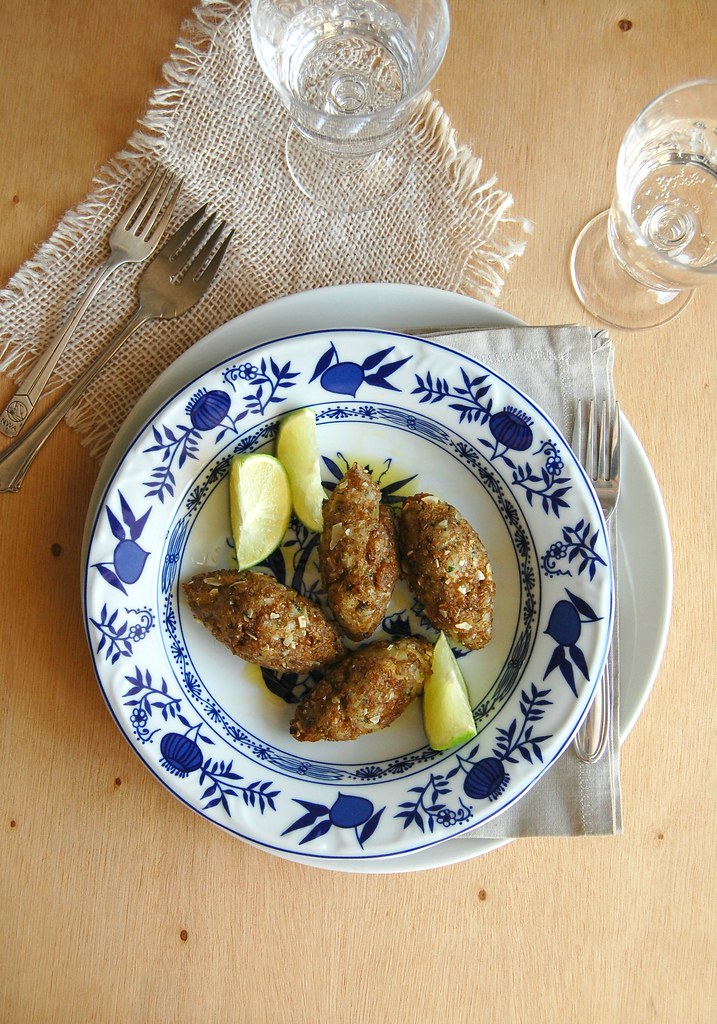
Fish kibbeh / Quibes de peixe

A couple of posts ago I told you that in my opinion there are days for chocolate, cream and all things sweet and I firmly believe in that, but even I can’t eat that sort of food every single day: I crave salads, vegetables, fish and grains everyday and I feel really good when I eat them.

I am always interested in new ways of cooking fish other than the way my mom cooked at home when I was little: dusted with corn flour (not corn starch) and deep fried, which is absolutely delicious but not very healthy (I do avoid deep frying like the plague around here, and not only for health reasons).

My husband loves the corn flour dusted fish as well, but he’s willing to try fish prepared in other ways and last weekend I prepared one of Hugh Fearnley-Whittingstall’s recipes in which the fish is coated with spices like paprika and cumin and cooked with peas – it was a hit. Weeks before I’d made these fish kibbehs and they were a huge success, too: me being me I tweaked the recipe just a bit, adding more lime zest, using almonds instead of walnuts and shaping the mixture into small kibbehs instead of baking it pressed into a baking dish.
Both my husband and my sister loved the kibbeh and I thought it was a wonderful way of eating fish.

Fish kibbeh
slightly adapted from the gorgeous Brazilian chef Rita Lobo

1 tablespoon olive oil
2 small onions, finely sliced in half moons
sea salt and freshly ground black pepper
pinch of sugar
1 cup cracked wheat (fine bulgur)
500g white fish fillets
handful parsley leaves
finely grated zest of 2 limes
1/3 cup flaked almonds, finely chopped
1/3 cup (80ml) water
¼ teaspoon baharat
extra-virgin olive oil, for drizzling
lime wedges, to serve

Preheat the oven to 180°C/350°F. Line a large baking sheet with foil and brush it with olive oil.
In a nonstick frying pan over low heat, heat 1 tablespoon of the olive oil and add the onions. Sprinkle with salt and the sugar and cook, stirring occasionally, until caramelized, about 15 minutes. Cool.
Line a colander with a clean kitchen towel and place the cracked wheat on the towel. Rinse it with cold water, then squeeze it well to remove all excess water.
In a food processor, process the fish and parsley until finely chopped. Transfer to a large bowl, add the onions, the wheat, lime zest, almonds, water and stir to combine. Season with the baharat, salt and black pepper.
Using 1 ½ leveled tablespoons of mixture per kibbeh, roll into a football shape. Place onto prepared sheet 5cm (2in) apart. Drizzle generously with extra virgin olive oil and bake for 20-25 minutes or until golden and cooked through, turning them halfway the cooking time. Serve immediately with lime wedges.

Makes about 20

Monday, October 27, 2014

Vanilla milk cake and goodbye, Linden and Holder

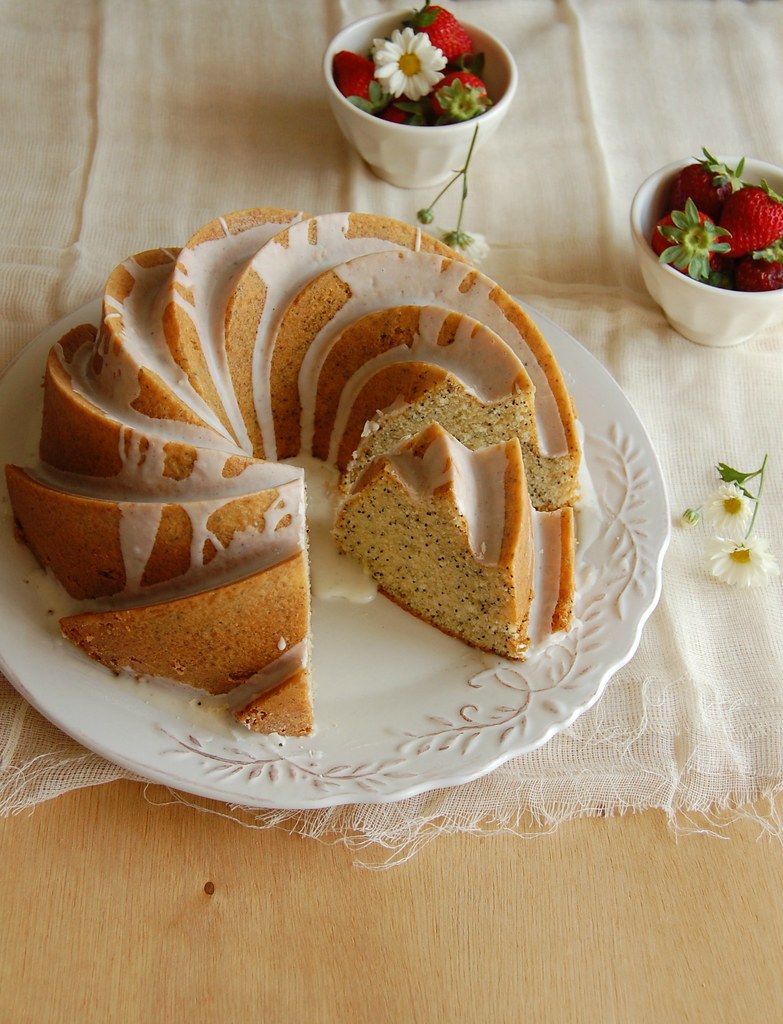
Vanilla milk cake / Bolo de leite e baunilha

Days ago, I finished watching the last season of The Killing and I felt happy and sad at the same time: glad because the quality I’d seen throughout the show ever since the beginning wasn’t put aside at any moment of those last six episodes, the ending was a thing of beauty that made me shed loads of tears, and sad because now two of my favorite characters are gone for good – no more of Sarah’s beautiful red hair, no more Holderisms.

I know that TV shows cannot last forever and that it is better to finish with top notch episodes than to end with no quality whatsoever, but The Killing never really had a chance: if it wasn’t for Netflix there wouldn’t even be a fourth season, there would be no closure. Such a beautifully written, acted and directed show should have been on air for longer, but I’ve complained about that already.

As I prepared myself to say goodbye to Linder and Holder, I decided that a slice of cake would fit the occasion perfectly – I needed something sweet to calm my nerves down (after watching the episodes I knew it had been a smart decision, what a wonderful yet nerve-wracking season, my goodness). This simple cake, while delicious on its own with a cup of tea or coffee, was turned into a flavorsome dessert served with whipped cream and strawberries – I highly recommend it either way.

Vanilla milk cake
slightly from the beautiful and oh, so delicious Baking Style: Art Craft Recipes

Cake:
1 ½ cups (210g) all purpose flour
3 tablespoons (30g) corn starch
¼ teaspoon table salt
3 tablespoons poppy seeds
½ cup (1 stick/113g) unsalted butter, chopped
1 cup (240ml) whole milk
4 large eggs
1 ¾ cups (350g) granulated sugar
1 tablespoon vanilla extract
1 teaspoon baking powder

Icing:
1 cup (140g) icing sugar
1-2 tablespoons whole milk

Preheat the oven to 180°C/350°F. Generously butter a 10-cup Bundt pan, dust it with flour and remove the excess.
In a medium bowl, sift together the flour, corn starch, and salt. Stir in the poppy seeds.
Place butter and milk in a small saucepan and cook over medium heat until butter is melted and mixture begins to boil. In the meantime, using an electric mixer, beat the eggs at medium speed for 2 minutes. Gradually add the sugar, beating until a light mixture forms. Beat in the vanilla extract.
On low speed, add the dry ingredients in two additions, beating just until incorporated. With the mixer still on low speed, add the hot milk mixture gradually, then beat until completely incorporated (scrape the sides of the bowl). Immediately add the baking powder and mix it in.
Pour batter into prepared pan and bake for about 1 hour or until risen and golden and a skewer inserted in the center of the cake comes out clean. Cool in the pan over a wire rack for 20 minutes, then carefully unmold onto the rack and cool completely.

Glaze: sift the icing sugar into a small bowl. Add the milk and stir until you get a drizzable consistency (add more milk if necessary). Drizzle over cooled cake. Set aside for 15 minutes.

Serves 10-12

Thursday, October 23, 2014

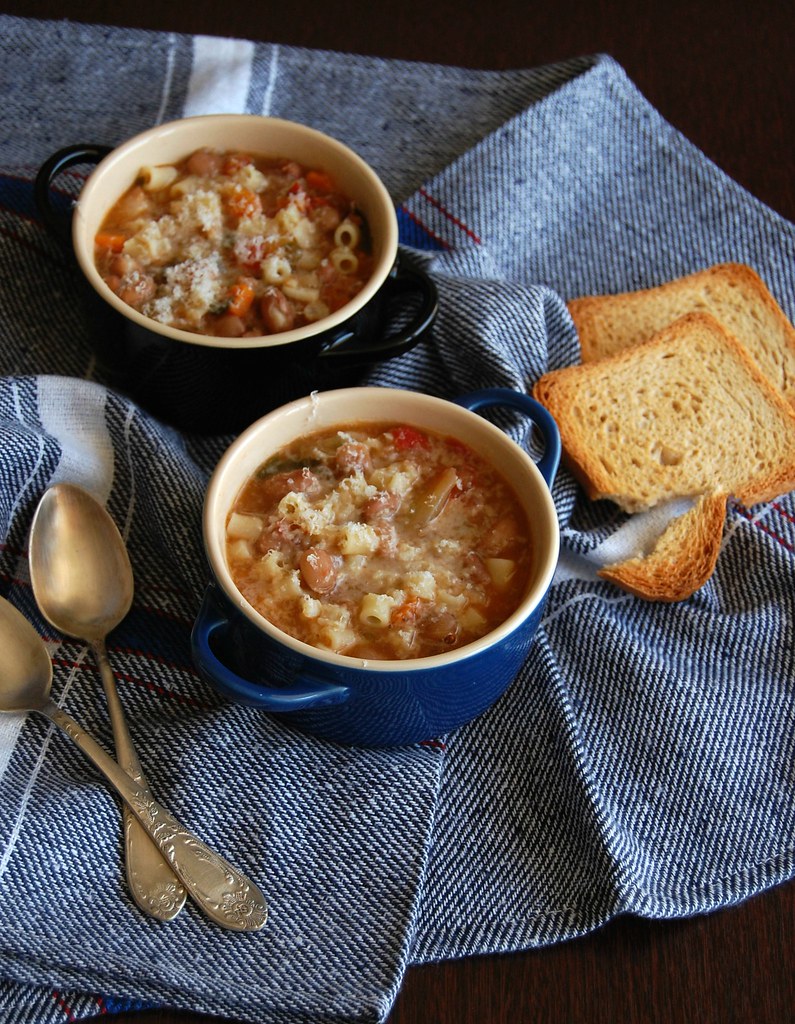
Pasta e fagioli (pasta and bean soup)

Pasta e fagiole

I made this soup weeks ago – twice, actually – and it was so delicious I could not have enough of it, but since then we’ve been having such hot days here in Sao Paulo I could not bring myself to publish the recipe here on the blog: it is really hard to even think of hot soup when it’s 35°C (95°F) outside. :S

Now that the temperatures are more reasonable, I gladly bring you Antonio Carluccio’s pasta e fagiole – I am sure my friends in the Northern Hemisphere will appreciate a good soup recipe right now. :)

This recipe has become one of my favorite soups, so easy to make – especially if you have cooked beans stashed in your freezer, which is something I highly recommend everyone to do –, so comforting and tasty, and it tastes even better the next day: what I did differently from the recipe below the second time around was to cook the pasta separately and add it to the bowls right before serving the soup, that way avoiding the pasta to swell too much.

Pasta e fagioli
slightly adapted from the delicious and beautiful Pasta: The Essential New Collection from the Master of Italian Cookery

400g dried pinto beans, soaked overnight
1 ½ tablespoons olive oil
100g bacon, in small cubes
½ onion, finely diced
1 small carrot, finely diced
2 fat cloves of garlic, crushed and finely chopped
2 ripe tomatoes, chopped
100g cherry tomatoes, halved
1 liter vegetable stock
150g short dried pasta
sea salt and freshly ground black pepper
handful fresh parsley leaves, chopped
finely grated pecorino or parmesan, to serve

Drain the beans, place them into a medium saucepan and cover with cold water (don’t add salt). Cook for about 1 ½ hours or until soft. Drain and process half the beans into a paste using a food processor.
Heat the olive oil in a large saucepan over medium-high heat. Add the bacon and cook until crispy. Add the onion and carrot and cook until the onion is translucent. Add the garlic and cook until fragrant. Add the chopped tomatoes and the cherry tomatoes, the stock and bring to the boil. Add the beans (both crushed and whole) and the pasta and cook for about 10 minutes or until pasta is tender. Season with salt and pepper and stir in the parsley.
Divide the soup among bowls and serve with freshly grated cheese.

Serves 4

Sunday, October 19, 2014

Lemon blackberry cake - perfect for spring

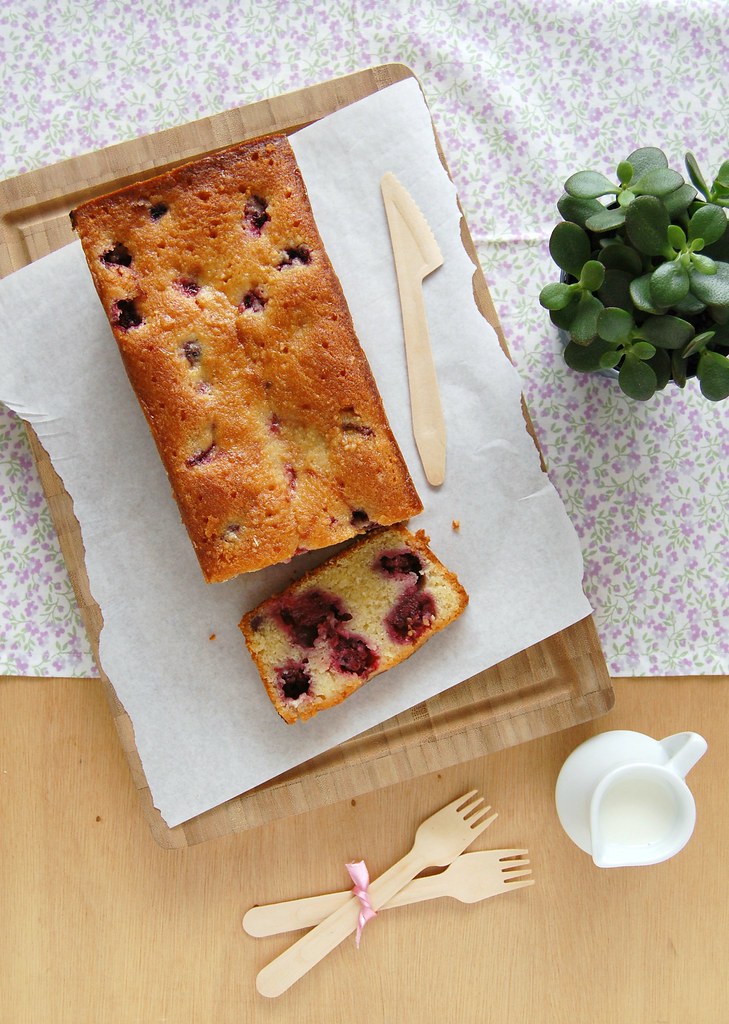
Lemon blackberry cake / Bolo de limão siciliano e amora

If it is a problem for me to make banana cakes, I could never say the same about lemon cakes, right? ;)

It is very rare for me to not have lemons around, especially because I use them for many things other than cakes, and I love them so much that my husband brings a couple of lemons home every time he goes grocery shopping.

Adding frozen berries to cakes is a great idea as we’ve seen here on the blog lately, and in this case the blackberries give a whole new dimension to a simple lemon drizzle cake – a moist, tangy cake as easy to eat as it is easy to make (mine was gone pretty fast). :)

Lemon blackberry cake
slightly adapted from the stunning and delicious Indulgent Cakes

Cake:
¾ cup (150g) granulated sugar
finely grated zest of 2 lemons
125g unsalted butter, softened
2 eggs
½ teaspoon vanilla extract
1 cup + 1 tablespoon (150g) all purpose flour
1 teaspoon baking powder
pinch of salt
½ cup (50g) almond meal
125g sour cream*
150g frozen blackberries, unthawed

Drizzle:
3 tablespoons granulated sugar
¼ cup (60ml) lemon juice
½ tablespoon water

Preheat the oven to 180°C/350°F. Lightly butter a 21.5x11.5cm (8.5x4.5in) loaf pan (6-cup capacity), line it with baking paper and lightly butter the paper as well.

In a large bowl, combine sugar and lemon zest and rub with your fingertips until sugar is fragrant. Add butter and using an electric mixer, cream the ingredients together until light and fluffy. Beat in the eggs, one at a time, and scrape the sides of the bowl. Beat in the vanilla. Fold in the flour, baking powder, salt, almond meal and sour cream. Pour half the batter into the prepared pan and sprinkle with half the berries. Cover with the remaining batter, smooth the surface then sprinkle with the remaining berries. Tap pan over surface to settle the mixture.

Bake for 50-60 minutes or until risen and golden and a skewer inserted in the center of the cake comes out clean. Set aside for 10 minutes and in the meantime make the drizzle: combine lemon juice, water and sugar in a small saucepan and cook over medium heat, stirring, until sugar is dissolved. Bring to the boil, then simmer for 2 minutes.
Pour the hot syrup over the cake, then cool completely in the pan. Carefully unmold, peel off the paper and serve.

Serves 8

Related Posts with Thumbnails