I had been meaning to make brownies for weeks, but I wanted to try a new recipe instead of going to my usual suspects, Alice Medrich’s cocoa brownies. As I flipped through books and magazine pages and browsed around the Internet I found beautiful looking brownies – and you know I am a sucker for beautiful food photos – but as I started reading the recipes I did not feel like making them: I was not in the mood of using 350g of chocolate and 500g of sugar to make a 20cm square brownie pan.
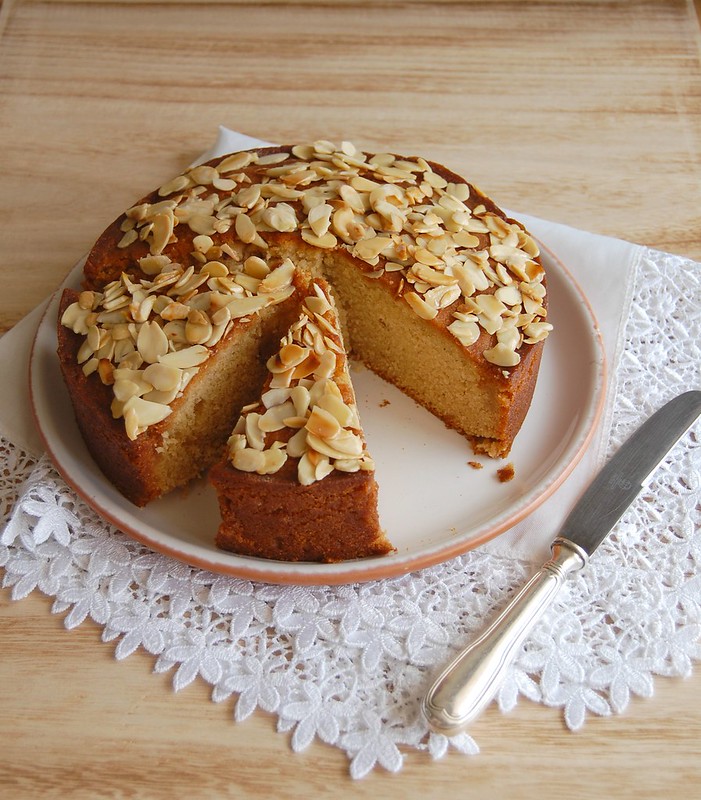
I gave up on the brownies and baked a lemon cake instead. :)
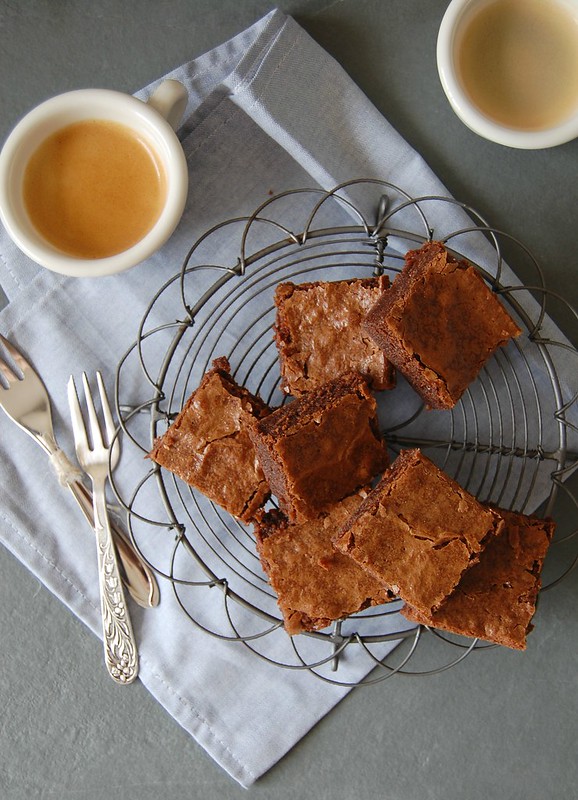
But the brownies got stuck in the back of my brain and I went back to my search, and ended up finding these: easy to make, calling for just a bit of chocolate, yielding a big 20x30cm full of brownies with that crackly, shiny top. I tweaked the recipe just a tiny bit, since I did not have unsweetened chocolate home (I used one with 53% cocoa solids), and the brownies turned out fabulous. I have packaged some for my friends at work and I hope they like them as much as I did.
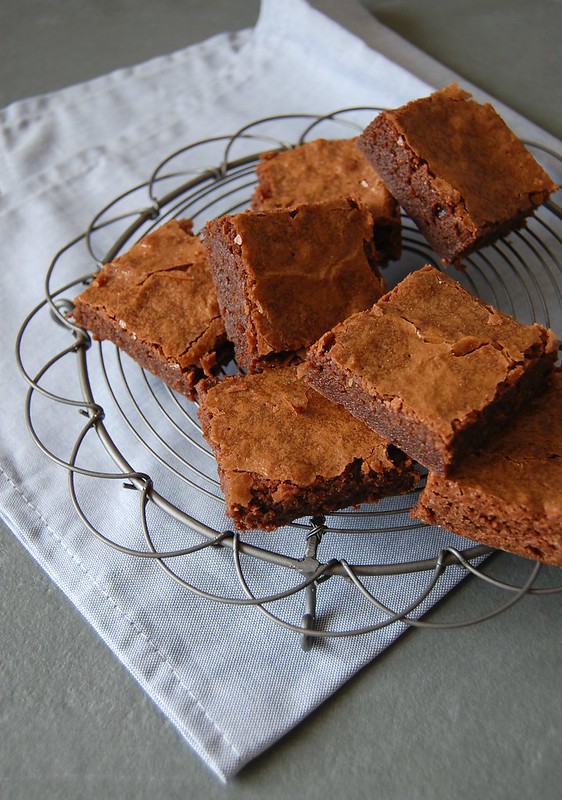
Really simple brownies
slightly adapted from here
150g dark chocolate, finely chopped or in chips – I used one with 53% cocoa solids
¾ cup (170g) unsalted butter, room temperature and chopped
1 ¾ cups (350g) granulated sugar
3 large eggs
1 teaspoon vanilla
1 cup (140g) all purpose flour
1 tablespoon (10g) unsweetened cocoa powder, sifted
¼ teaspoon table salt
Preheat the oven to 180°C/350°F. Lightly butter a 20x30cm (8x12in) metal baking pan, line it with foil leaving an overhang in two opposite sides. Butter the foil as well.
In a large heatproof bowl place chocolate and butter. Melt them over a saucepan of barely simmering water – do not let the bottom of the bowl touch the water. Once the ingredients are melted, remove from the heat and cool. Whisk in the sugar. Whisk in the eggs, one at a time. Whisk in vanilla.
Stir in the flour, cocoa and salt until a smooth batter forms. Spread onto prepared baking pan and smooth the top. Bake for 25-30 minutes or until a toothpick inserted in the center comes out with moist crumbs. Cool completely in the pan over a wire rack. Cut into squares to serve.
Makes 24