Thursday, October 16, 2014

Dark chocolate and dulce de leche puddings

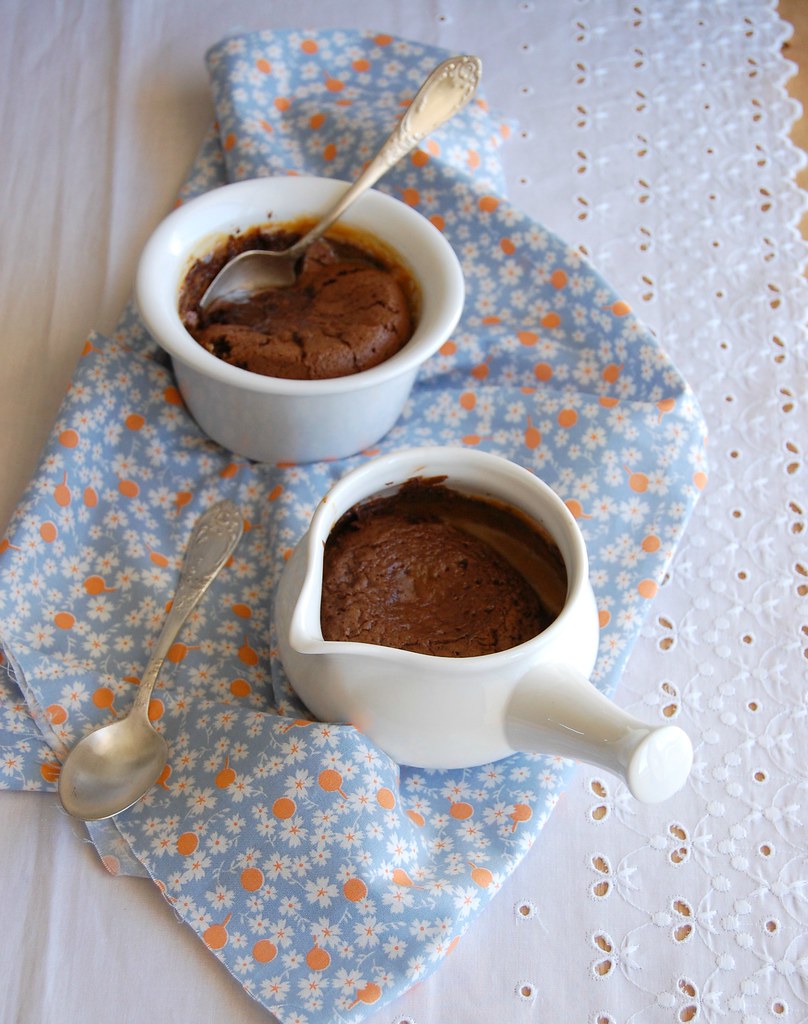
Dark chocolate and dulce de leche puddings / Potinhos de chocolate e doce de leite

By your comments and emails I think you’ve been enjoying the healthier recipes I’ve been posting here in the past few months, and that makes me really glad – I believe that eating better food has increasingly become important to many people, even to young people like my sister.

However, I’m sure I’m not alone here when I say that certain situations call for decadent sweets: a celebration, friends coming over for dinner, a broken heart – these are not the time to think of nutritional values, these are the times for butter, cream, chocolate, or all of them together.

You can go ahead and add dulce de leche to that mix, too – why not? :D

All those ingredients are combined in these puddings, and they are delicious, but very, very rich, so be warned; they also work well for entertaining because they can be assembled in advance and be placed in the refrigerator – when you want to serve them, pop them in the oven, they are ready in no time at all.

Dark chocolate and dulce de leche puddings
slightly adapted from the always amazing Donna Hay magazine

1 can (380g) dulce de leche
1/3 cup (80ml) heavy cream
200g dark chocolate, chopped
¼ cup (56g) unsalted butter
3 eggs
½ cup (88g) brown sugar, packed
1 teaspoon vanilla extract
½ cup (50g) almond meal
pinch of salt

Preheat oven to 200°C/400°F. Place the dulce de leche in a bowl and whisk until smooth. Add the cream and mix well to combine. Divide the mixture among eight 1 cup (240ml) capacity ovenproof cups or ramekins.

Place the chocolate and butter in a heatproof bowl over a saucepan of simmering water and stir until the chocolate is melted and smooth. Cool slightly. Place the eggs, sugar and vanilla in the bowl of an electric mixer and beat for 8–10 minutes or until doubled in size. Fold the chocolate mixture, almond meal and salt through the egg mixture. Divide between the cups, on top of the dulce de leche. Place on a baking sheet and bake for 12-15 minutes or until risen and the centers are soft – do not overbake or the mixture might overflow.
Stand for 5 minutes, then serve.

Serves 8

Monday, October 13, 2014

Banana waffles with chocolate sauce

Banana waffles with chocolate sauce / Waffles de banana com calda de chocolate

My sister came over the other day for lunch and she spent the afternoon here with me, but this time, instead of playing Super Mario, I suggested we watched Willy Wonka & the Chocolate Factory, for she had never watched the original version – I’m really biased here for this is one of my all time favorite movies and I cannot conceive the idea of a Willy Wonka other than Gene Wilder (sorry, Johnny, but you really sucked at playing that part). :)

She loved the movie – which was no surprise to me – but at some point she told me it wasn’t easy watching it without having something to snack on: all that chocolate made my sister crave something sweet, and since we’d had such a light lunch I thought that waffles would make our afternoon even nicer.

I used a recipe from a Brazilian blog I adore but instead of adding chocolate chips to the batter as my friend Richie did, I made a chocolate glaze to pour over the waffles – Willy Wonka would be proud. ;)

Banana waffles with chocolate sauce
slightly adapted from a beautiful Brazilian blog

Waffles:
1 cup (140g) all-purpose flour
1 tablespoon granulated sugar
½ tablespoon baking powder
¼ teaspoon salt
200ml whole milk, room temperature
1 medium banana, mashed
3 tablespoons vegetable oil
1 large egg
1 teaspoon vanilla extract

Chocolate sauce:
2 tablespoons unsweetened cocoa powder
2 tablespoons granulated sugar
1 tablespoon unsalted butter
2 tablespoons milk

Waffles: place ingredients in a large mixing bowl and combine until well blended and smooth. Let batter sit for 5 minutes before using.
Heat the waffle maker until very hot; lightly coat with nonstick spray. Pour about 1/3 cup of batter into the machine, close and cook until cooked through and golden.
Make the chocolate sauce: mix all the ingredients in a small saucepan and cook over high heat, whisking, until it comes to a boil. Cook for 2-3 minutes, whisking, until thickened.
Remove from heat and let it stand for 5 minutes before pouring it over the waffles

Serves 4

Saturday, October 11, 2014

Banana, ginger and honey cake

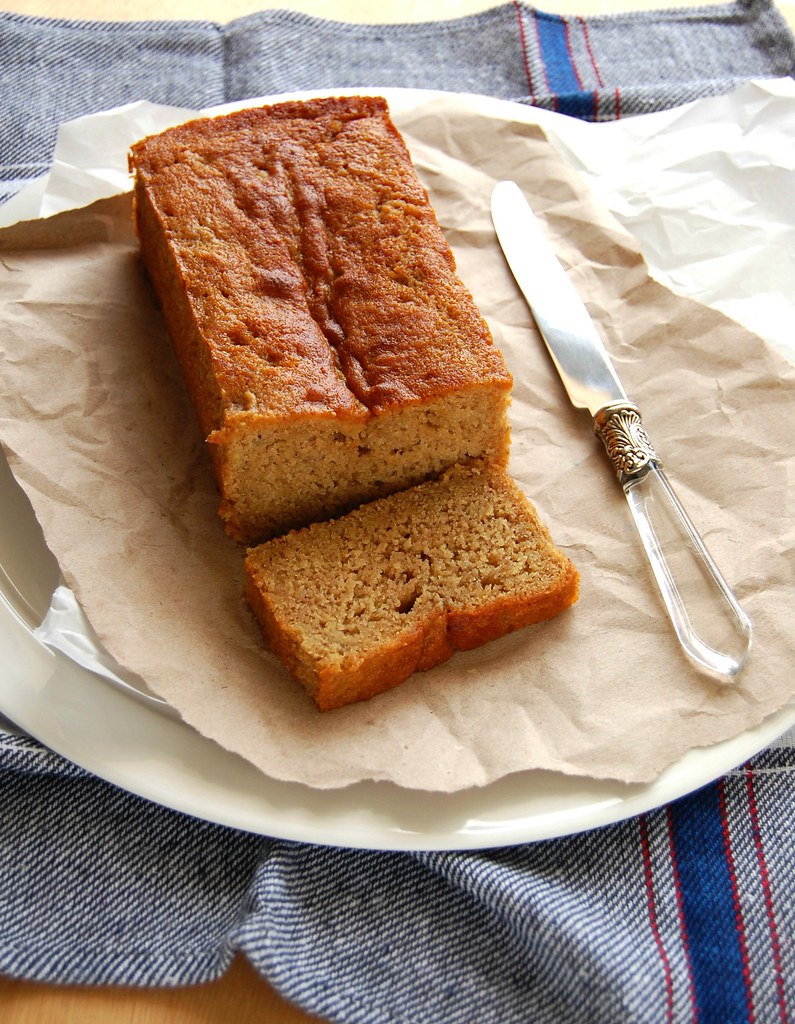
Banana, ginger and honey cake / Bolo de banana, gengibre e mel

As much as I love banana cakes, sometimes months go by without me baking any – my husband and I are crazy for the fruit and end up eating all the bananas before they go brown and I get a chance to do anything with them.

No one has muscle cramps here, I can assure you. :D

Last week I bought a huge bunch of bananas, and even though we ate a lot of them there were still two by the end of the week, very freckled and turning brownish, perfect for baking. A banana cake from Rachel Allen’s latest cookbook was the perfect way to use those wonderful bananas, but I’ve adapted it a little to use honey instead of golden syrup (explanation here).
The cake is delicious fresh out of the oven, so tender, but I have got to tell you that toasting the slices and slathering them with butter is something almost mandatory. :)

Banana, ginger and honey cake
slightly adapted from the delicious All Things Sweet

110g unsalted butter, softened
½ cup (44g) light brown sugar, packed
100g honey
2 eggs
1 teaspoon vanilla extract
100g all purpose flour
50g whole wheat flour
2 teaspoons baking powder
2 teaspoons ground ginger
pinch of salt
2 medium ripe bananas, mashed

Preheat the oven to 180°C/350°F. Lightly butter a 5 ½ cup-capacity loaf pan, line it with baking paper and lightly butter the paper as well.
In a large bowl, using an electric mixer, cream butter until soft. Beat in the sugar and honey, then beat until light and fluffy. Beat in the eggs, one at a time (mixture might look curdled, carry on anyway). Beat in the vanilla. Sift flours, baking powder, ginger and salt over mixture and fold to combine. Fold in the bananas, mixing until incorporated. Pour batter into prepared pan and bake for about 45 minutes or until risen and golden and a skewer inserted in the center of the cake comes out clean.
Cool in the pan over a wire rack for 25 minutes, then carefully unmold and transfer to the rack to cool completely. Peel off the paper and serve.

Serves 8

Wednesday, October 8, 2014

Chocolate oaties

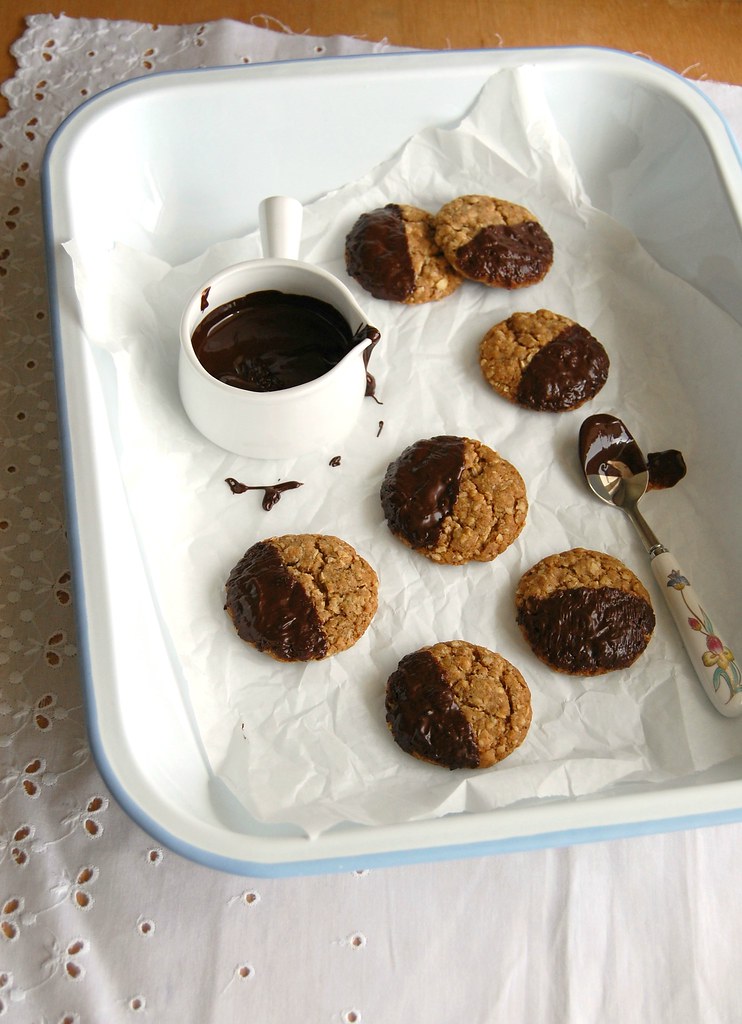
Chocolate oaties / Biscoitos de aveia com chocolate

I’ve loved oats ever since I was a teenager and my favorite way of having the ingredients was sprinkled over mashed banana and a drizzle of honey for a sweet and healthy treat, not to mention how wonderful oats are for those of us in the need of iron or with cholesterol problems.

Besides mashed bananas, cookies made with oats have a special place in my heart (a quick look at the blog recipe list and will see I’m not lying). :D That is why I’m always interested in trying new recipes, and the one I bring you today is perfect for when you’re in a hurry and have no time to wait for the butter to soften up.

If you’re pressed for time as I was, you can bake the cookies one day, keep them in an airtight container and brush them with chocolate later on – I thought of sandwiching the cookies with some ganache, but did not want to go out just to buy cream.

I’ll leave you with that suggestion. ;)

Chocolate oaties
slightly adapted from Good Housekeeping magazine

150g all purpose flour
¾ teaspoon baking powder
½ teaspoon baking soda
pinch of salt
125g light brown sugar
125g rolled oats
125g unsalted butter
1 tablespoon runny honey
70g dark chocolate, melted

Preheat the oven to 180°C/350°F. Line two large baking sheets with baking paper.
In a large bowl, mix together the flour, baking powder, baking soda, salt, sugar and oats. In a small saucepan, melt together the butter and honey over medium heat. Pour over the dry ingredients and stir until combined.
Roll 1 leveled tablespoon of dough per cookie into balls and place 5cm (2in) apart onto prepared sheets. Bake for about 12 minutes or until golden around the edges and slightly firm. Slide the paper with the cookies onto a rack and cool completely.
Using a pastry brush, paint half of each biscuit with chocolate. Transfer to a rack and set aside until set.

Makes about 30

Monday, October 6, 2014

Sweet pea salmon pie - turning a piece of fish into something delicious

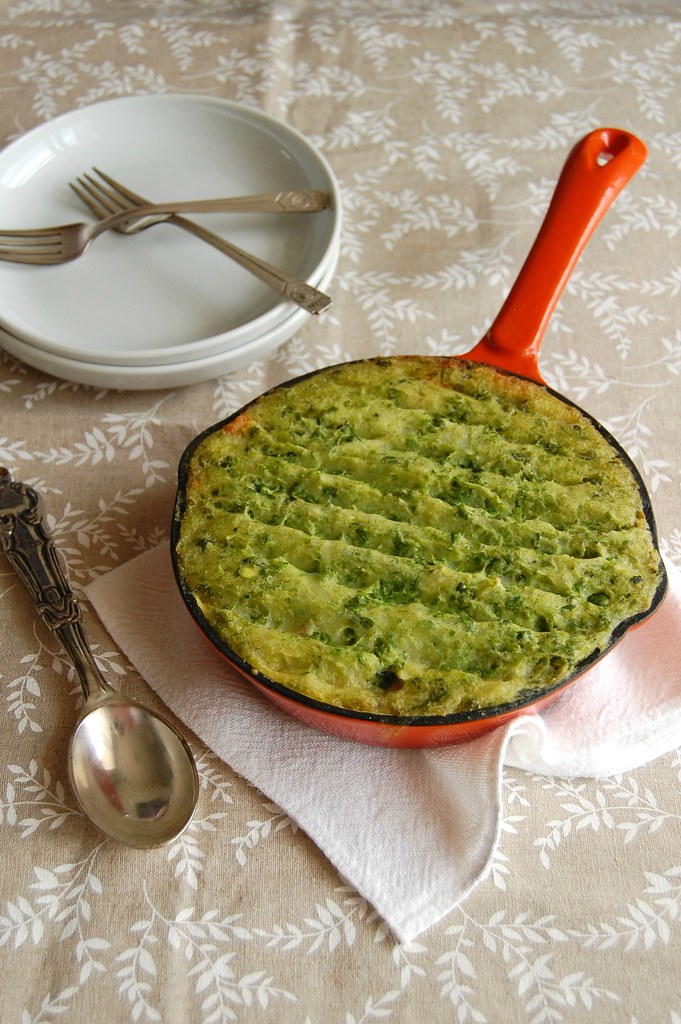
Sweet pea salmon pie / Torta de salmão e ervilha

Talking to my husband the other day about food, we once again came to the conclusion that we don’t eat fish as often as we should, which is such a shame.

I did not make any promises, for breaking them makes me frustrated and that is something I really don’t need right now – instead, I decided to make roasted salmon for lunch: seasoned with lemon zest and juice, salt and pepper, baked over a layer of sliced leeks – very simple yet very delicious.

I did have left about 200g of salmon, and I did not want to eat it cooked in the same way, so I used it to make Jamie Oliver’s fish pie – he uses a combination of white fish, shrimp and salmon, but I made it with salmon only for it was what I had around. I also reduced the recipe considerably for the original serves 8 people.

It was my first fish pie ever and as I placed it in the oven it looked and smelled really good. My husband was at work, so I texted my sister and asked what she felt about having fish pie for lunch – I know she’d never had fish pie before, so I described the dish for her, and her reply was: “I have never have that, but I love everything in it – I’m coming over!”. :D

The pie tasted delicious and despite the mashed potatoes on top it is such a light dish – we devoured it but it never felt like we’d eaten a lot.

Sweet pea salmon pie
slightly adapted from the delicious Save with Jamie: Shop Smart, Cook Clever, Waste Less

250g potatoes
½ lemon
10g unsalted butter
100g frozen peas
1 small carrot
½ onions
olive oil
1 cup (240ml) whole milk
200g salmon
1 tablespoon all purpose flour
25g frozen spinach
pinch of freshly ground nutmeg
sea salt
freshly ground black pepper

Preheat the oven to 180°C/350°F.

Peel the potatoes and cut into small chunks, then put them into a small saucepan of boiling salted water for 10-15 minutes, or until cooked through. Drain and mash with a pinch of salt and pepper, the zest from the lemon and the butter.
Place the frozen peas in a colander, pour over some boiling water to defrost them, then drain well and pulse a few times in a food processor. Fold them through the mashed potato to create a rippled effect, then leave to one side.

Peel and chop the carrot and onion and cook them in a wide 2 ½ cup-capacity ovenproof dish with a drizzle of oil for 15 minutes, or until softened but not colored, stirring occasionally.

Meanwhile, heat the milk in a small saucepan on a medium heat. Once simmering, add the salmon and cook for around 10 minutes, or until cooked through, then use a slotted spoon to remove them to a plate, taking the pan off the heat. Remove the skin from the salmon.

Stir the flour into the carrots and onions, then gradually add half the milk, a tablespoon at a time, stirring continuously (discard the remaining milk). Stir in the spinach until broken down, then season with salt, pepper and nutmeg.
Flake in the salmon and the juice from ¼ of the lemon and stir gently to combine.

Top with the pea-spiked mash and smooth out, scuffing it up slightly with a fork or a spoon to give it great texture. Bake for 25-35 minutes, or until golden and the filling is bubbling.

Serves 2

Related Posts with Thumbnails