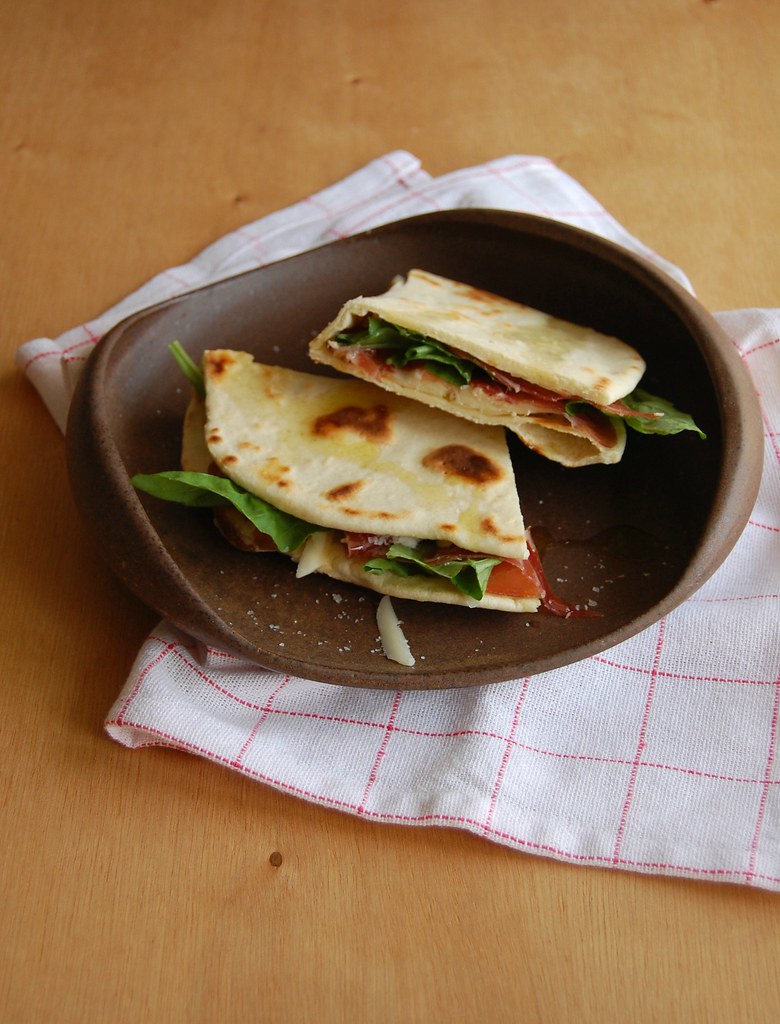
I haven’t cooked much lately but I still like to make something nice on the weekends, and also try new recipes. And even though my husband and I are not big sandwich eaters, there are Saturdays when I make piadina for lunch: the dough is quick put together and since it is made with baking powder instead of yeast it does not take long to proof – it just rests for 30 minutes while you get on with other things in the kitchen.
Piadina is also great for it is very democratic: you can fill it with whatever you like or have in the fridge.
Piadina
own recipe
Dough:
3 cups (420g) all purpose flour
1 teaspoon table salt
1 ½ teaspoons baking poder
3 tablespoons extra virgin olive oil
2/3 cup (160ml) whole milk, room temperature
½ cup (120ml) water, room temperature
Fillings:
cheeses, prosciutto, ham, salad leaves, whatever you like
In a large bowl, whisk the flour, salt and baking powder – whisk well to evenly distribute the baking powder and salt throughout the flour. Add the olive oil, the milk and the water and mix with a wooden spoon until a dough starts to form. Start kneading – with your hands or with an electric mixer attached with the dough hook – until an elastic and smooth dough forms, about 8 minutes using the mixer and 12 by hand. Shape dough into a ball, transfer to a large bowl lightly brushed with olive oil and cover with plastic wrap. Set aside at room temperature for 30 minutes.
Turn the dough into a lightly floured surface and divide it into 6 equal pieces – each one should be about 120g (4oz). Shape each portion into a ball and cover them with a clean kitchen towel to prevent them from drying out. Heat a large nonstick frying pan on high heat.
Working on a lightly floured surface, roll out each dough ball until you get a rough 23cm (9in) circle. Transfer the circle to the frying pan and cook for 2-3 minutes each side. When the piadina is cooked, slide it into a plate and cover with a clean kitchen towel. Cook the remaining dough the same way.
To serve, fill each piadinha with whatever you prefer and fold it in half – when I fill mine with cheese I place them back in the frying pan, over medium heat for a minute, until cheese is melted.
Serve immediately.
Makes 6
Thursday, December 14, 2017
Piadina
Wednesday, December 6, 2017
Cherry Eton Mess
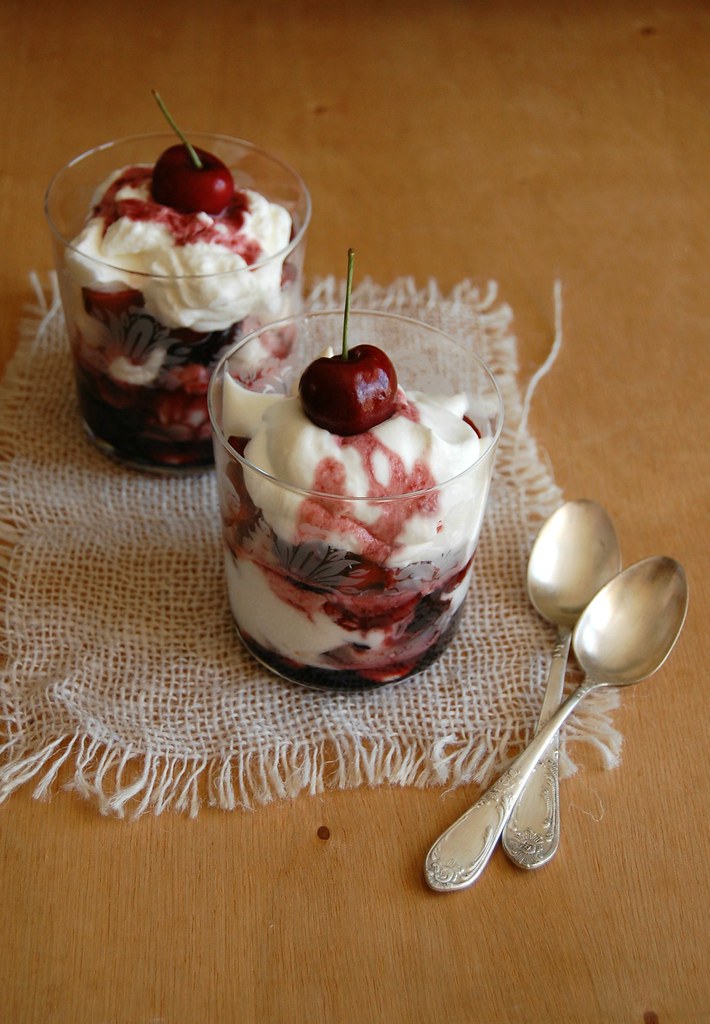
The traditional Eton Mess, made with strawberries, is my husband’s favorite dessert (and I like it very much too). :) I took advantage of the amazing cherries we have here in Sao Paulo by the end of the year to give the dessert a new twist.
The recipe is easy, especially because I use store bought meringues – turning the oven on in December and January here in Brazil is a terrible idea. The hard part of making this dessert is refraining from eating all the cherries before even gathering the other ingredients. :D
Cherry Eton Mess
own recipe
Cherry compote:
¾ cup (150g) granulated sugar
1 star anise
3 tablespoons cold water
500g fresh cherries, pitted and halved
To assemble the dessert:
1 cup (240ml) heavy cream, cold
½ tablespoon icing sugar
2 ½ cups mini meringues – if they are large ones, break them into smaller pieces
100g fresh cherries, pitted and halved
Start by making the compote: place the sugar, water and star anise in a large, heavy saucepan over médium-high heat. Cook until caramelized, without stirring – just swirl the pan occasionally. Stir in the cherries and cook for 5 minutes. Remove from the heat, transfer to a heatproof bowl and discard the star anise. Cool completely.
To assemble the dessert: beat the cream with the icing sugar until soft peaks form. Set aside 4 large glasses (the ones on the photo are 400-ml capacity glasses). In each glass alternate layers of meringues, cherry compote and whipped cream, placing a few fresh cherries in between the layers as well. Serve cold.
Serves 4
Monday, December 4, 2017
Apple and coconut upside down cake
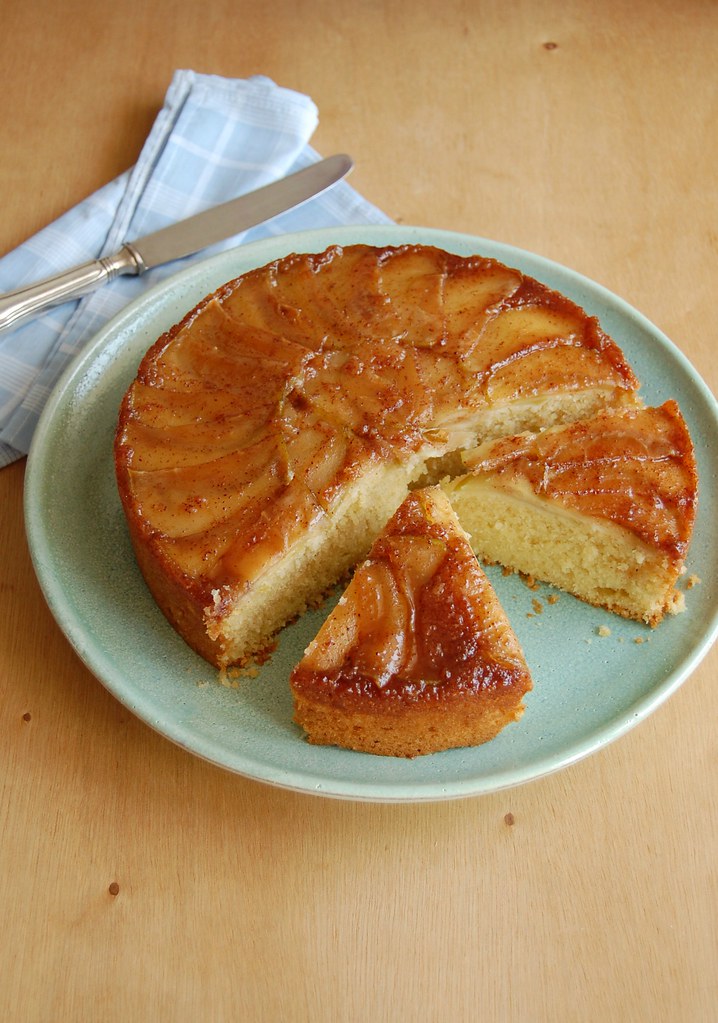
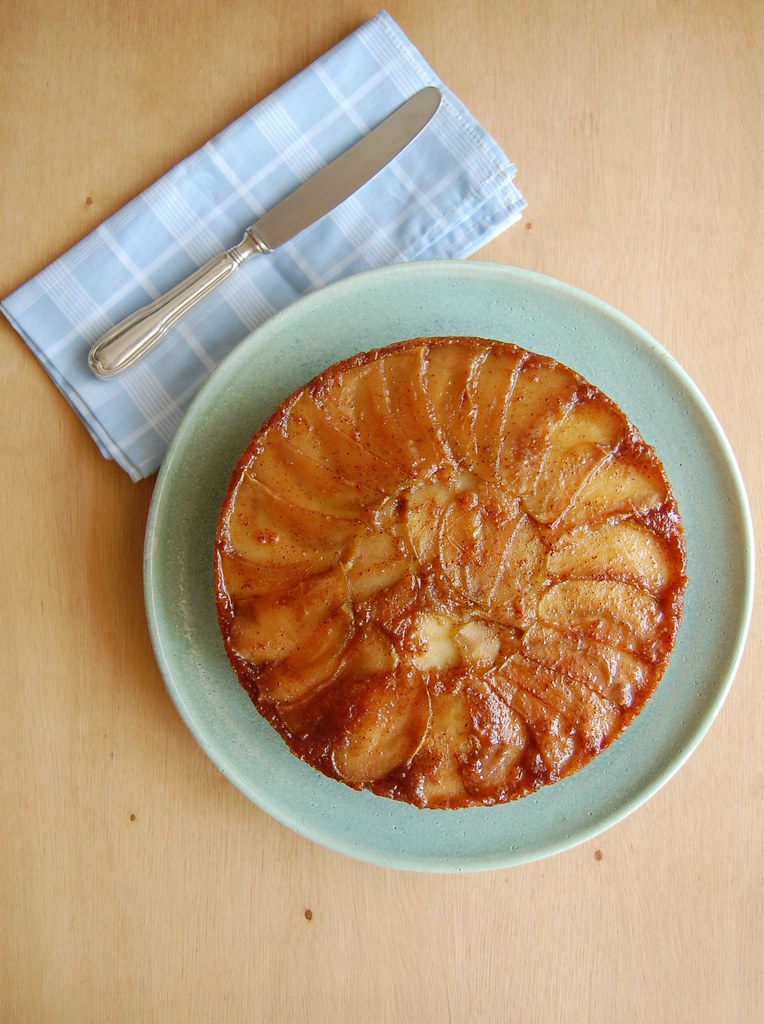
Apple cakes are truly favorites or mine – there are several recipes on the blog, including a version made with olive oil that I will repeat next weekend – and the upside down version is even more beautiful. The apple slices turn into a flavorsome layer and the coconut gives a nice tropical touch to the batter – it is a very tender and delicious cake.
The recipe is easy to put together – despite the look of the cake – and I find arranging the apple slices on the bottom of the pan therapeutic. Just be careful not to use a springform pan or one with a removable bottom: the sugar of the topping will melt in the oven and it might leek.
Apple and coconut upside down cake
own recipe
Apple layer:
1/3 cup (65g) granulated sugar
¼ teaspoon ground cinnamon
2 small Granny Smith apples, cored and thinly sliced
Cake:
1 ½ cups (210g) all purpose flour
1/3 cup (35g) desiccated unsweetened coconut
1 teaspoon baking powder
¼ teaspoon baking soda
pinch of table salt
¾ cup (150g) granulated sugar
½ cup (113g/1 stick) unsalted butter, softened
2 large eggs
1/3 cup (80ml) buttermilk*
1/3 cup (80ml) coconut milk
1 teaspoon vanilla extract
Preheat the oven to 180°C/350°F. Butter a round 20x7cm (8x2.5in) cake pan, line the bottom with a circle of baking paper and butter the paper as well – do not use a pan with a removable bottom because the sugar will melt in the oven and might leek. If your 20cm (8in) pan is not deep enough use a 23cm (9in) pan. In a small bowl, mix well sugar and cinnamon and sprinkle over the buttered paper. Arrange the apple slices on top. Set aside.
Cake: in a medium bowl, whisk together the flour, coconut, baking powder, baking soda and salt. Set aside. Using an electric mixer, cream butter and sugar until light and fluffy – scrape the sides of the bowl occasionally throughout the making of the recipe. Beat in the eggs, one at a time, beating well after each addition. Beat in the vanilla. On low speed, mix in the dry ingredients in three additions followed by the buttermilk, then the coconut milk. Mix only until incorporate – do not overmix. Spread the batter over the apple slices and smooth the top. Bake for about 50 minutes or until golden and risen and a skewer inserted in the center of the cake comes out clean. Cool in the pan over a wire rack for 1 hour, then carefully unmold onto a plate and peel off the paper. Serve on its own or with whipped cream.
* homemade buttermilk: to make 1 cup buttermilk place 1 tablespoon lemon juice in a 240ml-capacity measuring cup and complete with whole milk (room temperature). Wait 10 minutes for it to thicken slightly, then use the whole mixture in your recipe
Serves 8-10


