One of the things I have this blog to thank for is learning how to make pancakes, or American style pancakes as we call them here – I grew up eating what we call pancakes here, which are thin like crepes and filled with savory fillings like beef mince or chicken, and covered with tomato or Béchamel sauce (they’re very much like manicotti).
The pancakes I grew up with are delicious, indeed, and I still make them every now and then, but they are not fit for breakfast or those afternoons when you crave something sweet and there isn’t much in the pantry or refrigerator to bake or cook with – for those occasions, fluffy pancakes drizzled with syrup are perfect.
These are fluffy, delicious and super easy to make – I have lost track of how many times I have made this recipe, always with wonderful results. When I’m not in a hurry to watch something on TV I cook a sliced banana in a bit of butter, sugar and cinnamon until it’s caramelized and eat with the pancakes – so, so good.
Buttermilk pancakes
from the delicious Bill's Basics
100g all purpose flour
1 ½ teaspoons baking powder
pinch of salt
1 tablespoon granulated sugar
1 egg, lightly beaten with a fork
½ teaspoon vanilla extract
1 tablespoon (14g) unsalted butter, melted and cooled + a bit extra for frying the pancakes
150ml buttermilk*
In a large bowl, sift together the flour, baking powder and salt. Stir in the sugar, egg, melted butter and vanilla. Stir in the buttermilk.
Heat a large nonstick frying pan over medium heat and brush it lightly with butter. Using about 2 tablespoons of batter per pancake, pour the batter onto the pan and cook the pancakes for 2-3 minutes – when bubbles appear on the surface, turn the pancakes and cook for 1-2 minutes on the other side.
Serve with maple syrup, honey, dusted with icing sugar or with whatever strikes your fancy.
* homemade buttermilk: to make 1 cup buttermilk place 1 tablespoon lemon juice in a 240ml-capacity measuring cup and complete with whole milk (room temperature). Wait 10 minutes for it to thicken slightly, then use the whole mixture in your recipe
Makes about 10
Saturday, November 29, 2014
Buttermilk pancakes - easy and delicious
Wednesday, November 26, 2014
Whole wheat thumbprint cookies
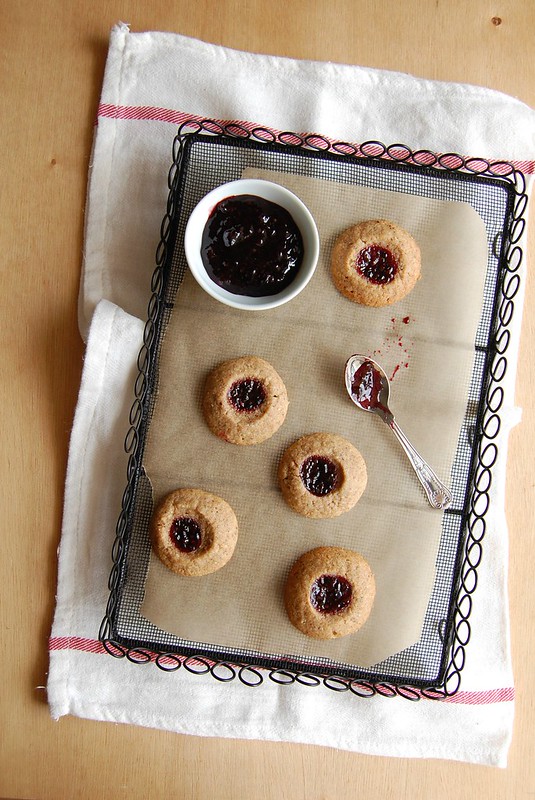
After making a batch of cookies that failed miserably, a lovely friend of mine asked what my favorite cookie recipe was and I found the question a very difficult one - I have baked several different cookies so far and have more than one that I love. Since the failed recipe was for chocolate chip cookies I stayed on that subject and told her that one of my favorites are Kim Boyce’s whole wheat choc chip cookies – they are delicious beyond words and before making them I would never have believed that a cookie made exclusively with whole wheat flour could be so good.
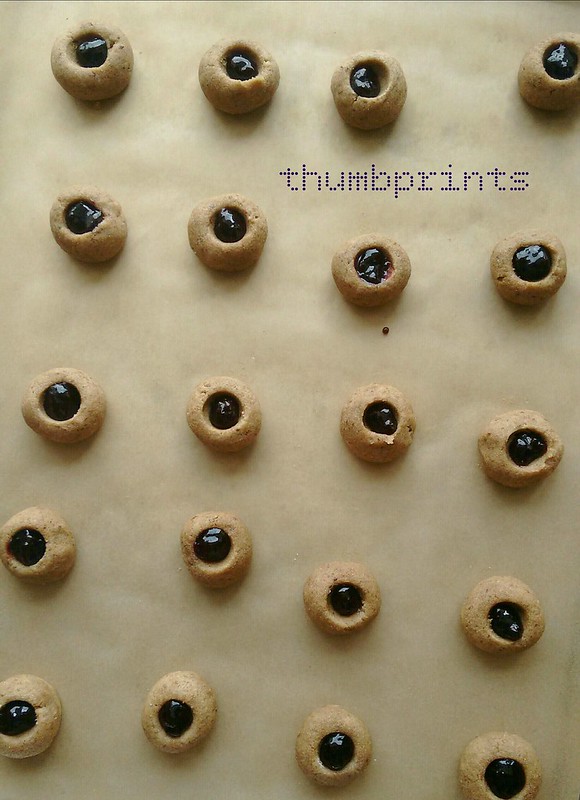
On that same day, I still had my mind set on baking more cookies – bad recipes drive me nuts, I’ll say – and decided to bake another cookie recipe made with whole wheat flour, but this time there was a little hazelnut meal to make them even nuttier: Louise Fulton Keats’ thumbprints, filled with blackberry jam. They turned out delicious and were super easy to put together – another win for whole wheat flour.
Two days later the cookies were a bit on the soft side, but still tasty – it didn’t bother me much, but next time I’ll try baking them without the jam first and then fill them when they are out of the oven and see if that fixes the problem.
Whole wheat thumbprint cookies
from the delicious and beautiful Something for Everyone: Family Meals for Baby, Toddler and Beyond
250g unsalted butter, softened
150gbrown sugar
1 teaspoon vanilla extract
1 egg
260g whole wheat flour
55g ground hazelnuts
pinch of salt
blackberry jam, or the your favorite flavor
Preheat the oven to 180°C/350°F. Line two baking large baking sheets with baking paper.
Using an electric mixer, cream the butter and sugar until pale and creamy. Add the vanilla and egg and beat until combined.
With the mixer on low speed, add the flour, ground hazelnuts and salt, mixing until the dough just comes together to form a ball. Cover and refrigerate for at least 1 hour.
Take 1 leveled tablespoon of the dough per cookie at a time and roll into balls. Place 5cm (2in) apart onto prepared sheets. Using a wooden spoon with a rounded handle or other gadget, make a deep indentation in the center of each cookie. Fill the indentations with jam, then bake for 12-15 minutes or until cookies are golden.
Cool in the sheets for 2 minutes, then slice the paper with the cookies to a wire rack and cool completely.
Makes about 55
Sunday, November 23, 2014
Eggplant mull and mood swings
Choosing what to cook is not always an easy task around here: I want to cook lots of things, which is not feasible at all (not to mention expensive), so I have to refrain myself and be reasonable. Sometimes I’m tired and want something simple that doesn’t get me standing on my feet too long – those are the days when decision making is a lot quicker.
There is, however, something that changes every now and then: my mood.
There are days when I flip through certain cookbooks for hours and find absolutely nothing that appeals to me – I start wondering why I bought the book in the first place, that it was a waste of money, and so forth (hello, PMS). Then, weeks later, maybe even days, I grab the same cookbook and I want to eat each and every recipe on it – everything looks delicious.
No, I’m not completely mad, guys, I promise. :D
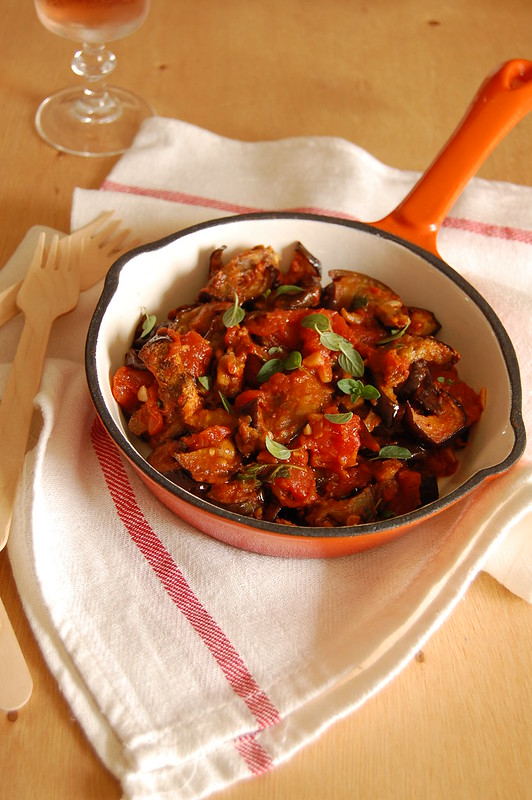
A while ago I had Maria Elia’s cookbook on my lap as I had a cup of tea and as I turned each page of the book I kept trying to remember why I’d bought it because I did not feel like eating any of those recipes. None. A week later I got the book again and it made my mouth water so hard I couldn’t decide what to cook – everything looked so tasty! I went for the eggplant mull because I had everything in my fridge and it was such a lovely meal it has become a favorite – it’s a great weekday meal.
The paprika I used was on the hot side and I’ve toned it down a little after that first time, using half of the amount called for in the recipe below – that is very personal so I suggest you adapt it to make it to your liking.
Eggplant mull
slightly adapted from the delicious Full of Flavor: How to Create Like a Chef
1 large eggplant, cut in halve lengthwise, then into 5mm slices
olive oil
salt and freshly ground black pepper
½ onion, finely diced
2 cloves garlic, finely chopped
3 plum tomatoes, deseeded and coarsely chopped
1 teaspoon smoked paprika
½ teaspoon cumin
pinch of cayenne pepper
juice of half a lemon
handful of chopped parsley
3 tablespoons fresh oregano leaves
Preheat the oven to 200°C/400°F. Line a large baking sheet with foil and brush it generously with olive oil. Lay the eggplant slices on top of the foil, drizzle with a little olive oil, season with salt and pepper and roast for 25 minutes. Remove from the oven.
In a large nonstick frying pan, heat 2 tablespoons olive oil over medium-high heat. Add the onion and cook until translucent. Add the garlic and cook until fragrant. Add the tomatoes and spices and cook for 5 minutes or until tomatoes soften. Stir in the eggplant and cook for 5 minutes. Season with salt and pepper.
Remove from the heat, stir in the lemon juice and herbs and serve.
Serves 2
Friday, November 21, 2014
Cranberry oatmeal cookies with coconut and a good TV show
Many times I sit in front of the computer eager to share something delicious with you but I don’t feel like I have much else to say, so I postpone the post, sometimes for quite a while. Then, when I’m doing something else completely and can’t reach the computer at the moment loads of things come to my mind, things I would love to share with you other than food, but it all happens so quickly that when I’m once again sitting here my mind goes blank.
How frustrating is that? :S
Months ago I accidentally discovered a British TV show called Dates and I loved the pilot so much I pretty much devoured the whole nine episodes in two days or so. It was smart, sexy, fun, sad at times, the actors were spot on – everything a good TV show should be/have.
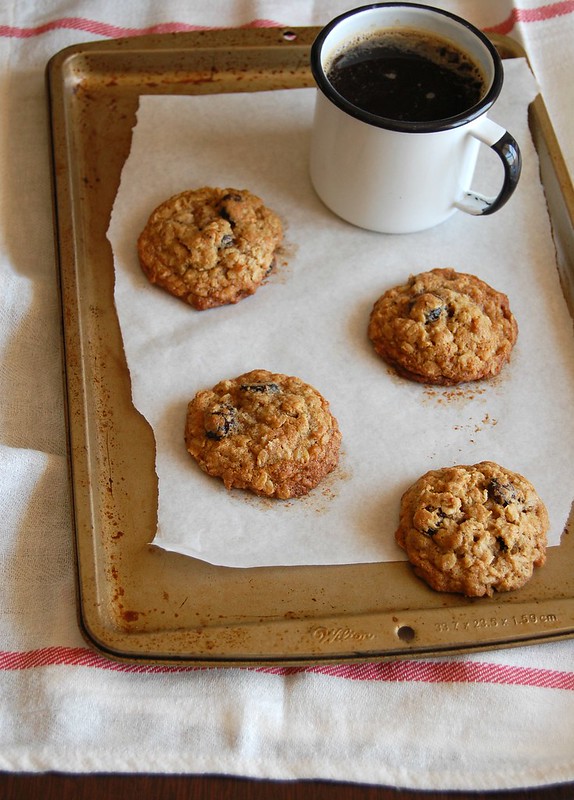
Unfortunately I haven’t read anything about a second season, but I still hope it happens. In the meantime, I’ll keep listening to the beautiful theme song Chloe, especially when I’m in the kitchen making tasty treats such as these cookies: I had no idea (or did not remember) that coconut and cranberries were so good together, and they make these oatmeal cookies extra special.
Cranberry oatmeal cookies with coconut
slightly adapted from the delicious The Seasonal Baker: Easy Recipes from My Home Kitchen to Make Year-Round
¾ cup (105g) all purpose flour
½ teaspoon baking soda
½ teaspoon ground cinnamon
1/8 teaspoon table salt
½ cup (1 stick/113g) unsalted butter, room temperature
½ cup (88g) light brown sugar, packed
¼ cup (50g) granulated sugar
1 large egg
1 teaspoon vanilla extract
1 ½ cups (135g) rolled oats
½ cup (50g) unsweetened desiccated coconut
1 cup dried cranberries
Preheat the oven to 180°C/350°F. Line two large baking sheets with baking paper.
In a medium bowl, whisk together the flour, baking soda, cinnamon and salt.
In a large bowl, using an electric mixer, cream butter and sugars together until light and creamy. Beat in the egg, and scrape the sides of the bowl. Beat in the vanilla.
On low speed, beat in the flour mixture just until incorporated. Stir in the oats, the coconut and the cranberries.
Using 2 leveled tablespoons of dough for each cookie, drop batter onto prepared sheets 5cm (2in) apart. Bake cookies until the edges are golden brown and the centers are still slightly soft, 12-14 minutes.
Let cookies cool for 10 minutes on the baking sheet, then slide the paper with the cookies onto a wire rack and cool completely.
Makes about 25 cookies
Monday, November 17, 2014
Sticky toffee squares
I have a sweet tooth and that’s not a secret, but there are sweets and desserts that have a special place in my heart for something other than their taste: they remind me of certain periods of my life, certain days and occasions, and that makes them extra special.
When I was a kid my grandmother would make dulce de leche at home every now and then, and it was one of my favorite things: it was delicious on its own, by the spoonful, spread on sliced of bread, with cheese… The thought of it makes my mouth water already – grandma used to make a big pot of dulce de leche at a time, but it never lasted long. :)
I still love dulce de leche, but I have never tried making it at home the way my grandmother used to – so far I’ve only made it by cooking a can of sweetened condensed milk in the pressure cooker, but nowadays it’s so easy to find Argentinean dulce de leche around here I don’t even do that anymore – all I do is open up a jar, and to stop myself from eating it all by myself I bake with it, too, making yummy things like these squares. :)
Sticky toffee squares
slightly adapted from the delicious Olive magazine
Cake:
175g all purpose flour
1 ¾ teaspoons baking powder
pinch of salt
2 tablespoons ground almonds
175g unsalted butter, softened
150g light brown sugar
1 teaspoon vanilla extract
3 eggs
Icing:
2/3 cup dulce de leche
2 tablespoons heavy cream
Preheat the oven to 180°C/350°F. Lightly butter a 20cm (8in) square baking pan, line the bottom with a square of baking paper and butter it as well.
In a medium bowl, whisk together the flour, baking powder, salt and almond meal. Using an electric mixer, beat the butter and sugar together until light and creamy. Beat in the vanilla.
Beat the flour mixture into the sugar and butter in 3 batches, adding an egg each time. Beat the mixture until smooth and then spoon it into the pan and level the top. Bake for about 30 minutes or until a skewer comes out clean. Cool in the pan for 30 minutes, then carefully unmold, peel off the paper and invert onto the rack to cool completely.
Icing: place dulce de leche and cream in a small bowl and mix to combine. Spread over the cooled cake. Cut into squares to serve.
Makes 16
Friday, November 14, 2014
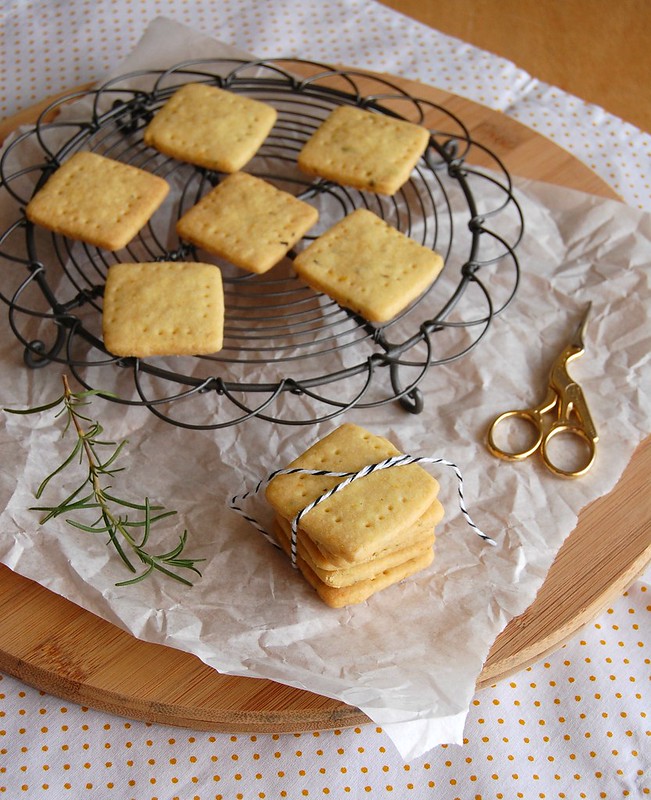
Orange rosemary shortbread - becoming friends with rosemary
I have to start this text by confessing that it took me months (a quick look at Amazon shows me that I purchased the book in January, so almost a year) to make these cookies, all because I was a coward: I was afraid that all that rosemary in the dough would make the cookies taste weird.
I am thirty-five six years old and rosemary scares the bejeesus out of me: I always think that the food will end up tasting like soap. :S
I love cooking with herbs and will gladly add thyme, oregano, basil, marjoram, parsley, even cilantro to recipes without too much thought about it, for they make everything so much more delicious, but when it comes to rosemary I just can’t do it, and every time I watch Jamie Oliver adding tons of rosemary to his recipes I feel sort of desperate, my brain screams “it’s too much, too much!”. :)
I decided it was time to stop this nonsense and bought a small vase of rosemary to gradually start using the herb in my cooking, and these cookies were my first attempt at getting to know the rosemary better: they turned out delicious, the herb flavor perfectly complimented by the orange.
I feel a lot braver now. ;)
Orange rosemary shortbread
slightly adapted from the beautiful and delicious National Trust Simply Baking
½ cup (100g) granulated sugar
2 teaspoons finely chopped rosemary leaves
finely grated zest of 2 oranges
1 cup (225g/2 sticks) unsalted butter, softened
1 teaspoon vanilla extract
340g all purpose flour - I used 290g all purpose flour + 50g millet flour
pinch of salt
Preheat the oven to 180°C/350°F. Line two large baking sheets with baking paper.
Put the sugar and rosemary in a food processor and whiz until the rosemary is very finely chopped. Transfer sugar to the bowl of an electric mixer, add the orange zest and rub them together with your fingertips until sugar is fragrant. Add the butter and vanilla and beat with the mixer until pale and creamy. On low speed, beat in flour and salt. Wrap the dough in plastic and refrigerate for 20 minutes.
Roll out dough between two sheets of baking paper until 3mm thick. Use a 4cm (1½in) cookie cutter to cut out cookies – if the dough gets too soft, place it in the freezer for 5 minutes. Place cookies onto prepared sheets 2,5cm (1in) apart and prick them with a fork. Bake until lightly golden on the edges, 10-12 minutes.
Cool completely on the sheets over a wire rack. Remove carefully from the paper.
Makes about 60
Tuesday, November 11, 2014
Chocolate, coconut and banana cake
I love trying new things and I am sure I am not alone: when movies are concerned, for instance, writers and actors become directors, directors work as actors or make cameo appearances, and so forth. Change is good; variety is the spice of life.
While some are very successful working in different areas – I think Antonio Banderas should focus on directing more after I watched Crazy in Alabama, and let us not forget that Quentin Tarantino was a writer before working behind the cameras – I can’t say the same about others: I started watching Joseph Gordon-Levitt’s directorial debut the other day, but the movie was so awful I changed the channel after fifteen minutes of it. Poor Joseph, go back to acting, will you? :)
As I said, change is good – maybe except for JGL? ;) – not only in the movies but also in the kitchen: this moist and delicious cake, very chocolaty, is made without eggs and yet the result was really, really good, as the banana not only acts as the egg replacer but also adds a wonderful flavor to the cake.
I have no intention of giving up on eggs – I just love them too much – and that was not even the reason why I baked this cake: I just got hypnotized by the beautiful photo I had to make it, especially because the recipe comes from a cookbook that the more I cook from, the more I love it.
Chocolate, coconut and banana cake
cake slightly adapted from the marvelous A Modern Way to Eat: Over 200 Satisfying, Everyday Vegetarian Recipes (That Will Make You Feel Amazing), glaze from the wonderful Annie Bell's Baking Bible
Cake:
¾ cup (105g) all purpose flour
1 ½ cups (150g) almond meal
1 cup (95g) unsweetened cocoa powder
2 teaspoons baking powder
pinch of salt
125g unsalted butter, melted and cooled
150ml maple syrup
2 teaspoons vanilla extract
150ml coconut milk
50ml whole milk, room temperature
1 large ripe banana, mashed
Glaze:
100g dark chocolate – I used one with 53% cocoa solids
25g unsalted butter, room temperature
2 tablespoons whole milk, room temperature
Cake: preheat your oven to 180°C/350°F. Lightly butter a 20x7cm (8x3in) round cake pan with a removable bottom, line the bottom with a circle of baking paper and butter the paper as well.
In a large bowl, whisk together flour, almond meal, cocoa, baking powder and salt. Make a well in the center of the dry ingredients and slowly pour in the melted butter, maple syrup, vanilla, coconut milk, milk and banana. Mix well.
Pour the mixture into the prepared pan and bake for 35–40 minutes, until it feels firm to the touch and a skewer comes out clean. Don't worry if the cake has cracked on the top, as this will all get covered by the chocolate glaze.
Remove the cake from the oven and cool completely in the pan over a wire rack. Carefully unmold, peel off the paper and transfer to a serving plate.
Glaze: place chocolate and butter in a small heatproof bowl and set over a saucepan of simmering water, stirring until melted. Remove from the heat and whisk in the milk. Set aside for 5 minutes, then spread over the cooled cake.
Serves 8
Saturday, November 8, 2014
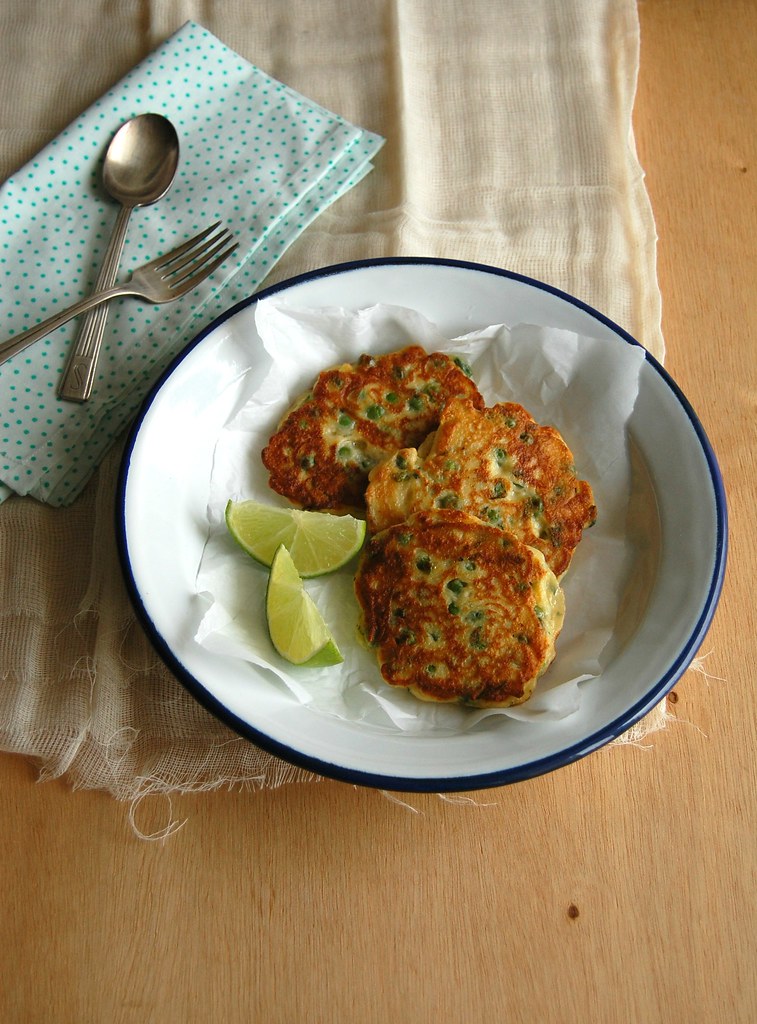
Pea pancakes
I’ve realized that I’ve been craving vegetables more and more each day, instead of meat: the more I eat vegetables, the more I want to eat them, in all sorts of ways – every time I see a great vegetarian recipe around I want to try it immediately.
(That said, I’ll cook Jamie Oliver’s roast beef tomorrow for lunch. :D My husband saw a bit of the show days ago while I was watching it and has been craving that dish ever since, with all the trimmings, including the Yorkshire puddings – I have made Jamie’s yorkies and they’re oh, so good).
Back to the vegetables, I saw these pea pancakes on Valli Little’s stunning cookbook and right away thought that they would be great for a snack – I had everything in my fridge and pantry to make them, and on top of it all it would take me moments to put them together, even making the ricotta from scratch, which is super easy and I highly recommend you try – I doubt you’ll ever buy ricotta again.
The pancakes turned out delicious, light and fluffy, and I ate them with sweet chili sauce, as per the author’s suggestion – she also suggests the pancakes to be served with bacon, but even though I’m crazy about it I don’t think it was necessary here.
Pea pancakes
slightly adapted from the über beautiful Delicious. Love to Cook
120g frozen peas
2 eggs
200g fresh ricotta – I highly recommend using homemade
¼ cup finely grated parmesan
1 teaspoon olive oil + more for frying the pancakes
¼ cup (45g) all purpose flour
¼ teaspoon baking powder
salt and freshly ground black pepper
2 spring onions, white part only, finely chopped
Cook the peas in boiling salted water for 5 minutes, drain and refresh under cold water. Drain well and set aside.
Place eggs, parmesan, ricotta, 1 teaspoon olive oil, flour, baking powder, salt and pepper in a medium bowl and stir to combine. Stir in the peas and spring onions, cover and refrigerate for 30 minutes.
Heat ½ tablespoon of olive oil in a large nonstick frying pan over medium-high heat. Scoop two tablespoons of mixture per pancakes and place onto the pan, pressing each to 1cm (½ in) thickness. Cook for 3 minutes each side or until golden.
Serve immediately.
Makes 6
Wednesday, November 5, 2014
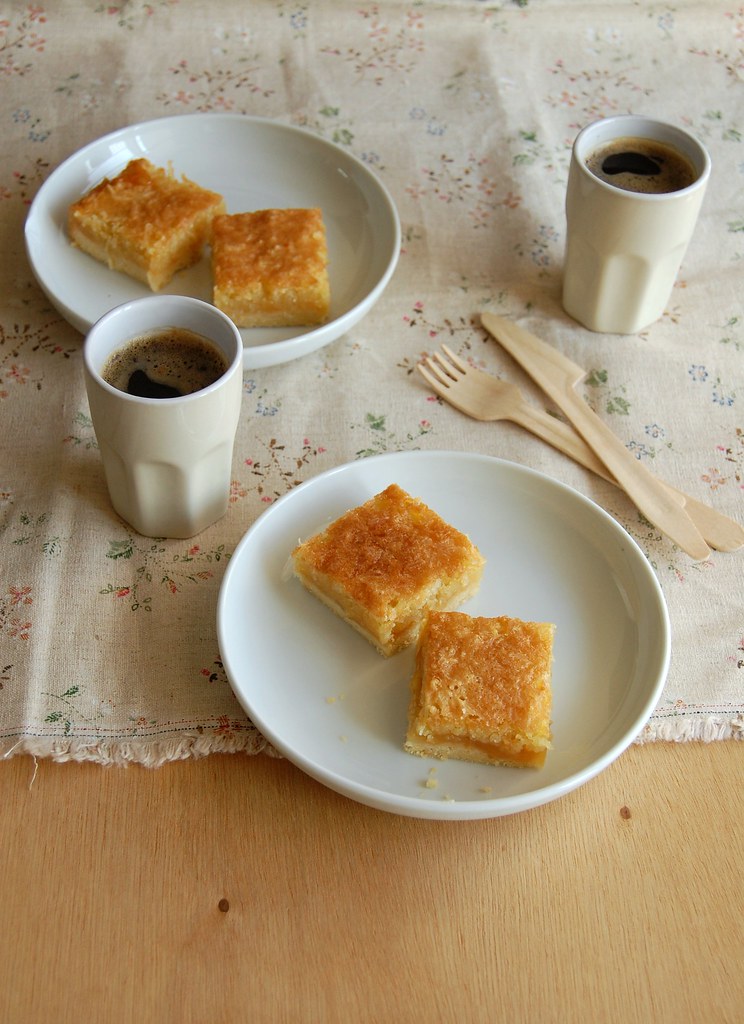
Lemon and coconut Bakewell bars and wondering about my food
Sometimes I wonder what my cooking would be like if it wasn’t for the Internet: my food would certainly be different, I would not have this blog and I would not probably own all the cookbooks and food magazines I own today.
I have learned a lot about cooking and baking by reading all sorts of materials (maybe someday I’ll have the time and money to actually study the wonderful world of food), and I’ve come across many things I’d never heard of and those were things I doubt I would know today if it weren’t for all the reading.
For instance, before I had a blog I had no idea of what fruit curds were, and now they are such favorites of mine, lemon curd being #1 (though passion fruit curd easily gives lemon a run for its money). If the Internet did not exist, I would probably not know about curds and how delicious they are.
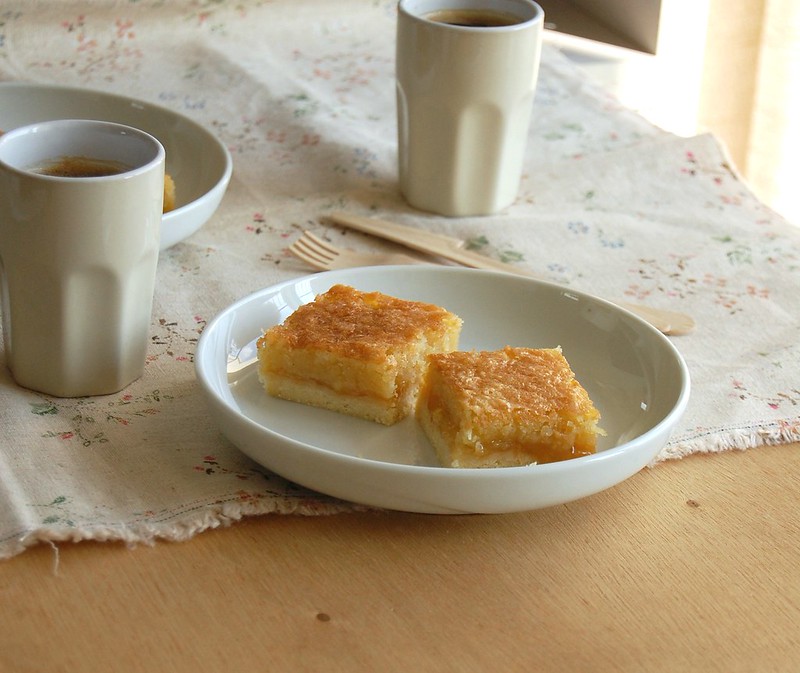
That sounds very silly, and I am probably in a very silly mood right now giving curds such huge importance; all I know is that they are yummy and the lemon one goes incredibly good with coconut, like in these irresistible Bakewell bars.
Lemon and coconut Bakewell bars
adapted from the wonderful Feast: Food to Celebrate Life, inspired by the delicious John Whaite Bakes: Recipes for Every Day and Every Mood
Base:
145g all purpose flour
30g icing sugar
pinch of salt
150g unsalted butter, cold and chopped
Filling:
100g unsalted butter
2 eggs
100g granulated sugar
finely grated zest of 1 large lemon
½ teaspoon vanilla extract
100g unsweetened coconut
2/3 cup lemon curd
Preheat the oven to 180°C/350°F. Lightly butter a square 20cm (8in) baking pan, line with foil, leaving an overhang in two opposite sides. Butter the foil as well.
Start with the base: put the flour, icing sugar and salt into a food processor and blitz to combine and remove any lumps. Add the butter and process again to get a crumbly mixture that’s beginning to come together. Transfer mixture to the prepared pan and press into the base of the pan. Bake for 20 minutes or until lightly golden.
Make the topping: melt the butter and set aside. Put the eggs, sugar, lemon zest, vanilla and coconut into the bowl of the food processor. Process until smooth.
When the base is cooked, remove it from the oven and let cool for 5 minutes. Spread the curd evenly over the base. With the processor motor running, pour the slightly cooled melted butter down the funnel into the other ingredients and process until smooth. Pour it over the curd layer. Bake for 25-30 minutes or until golden and a skewer inserted in the center comes out clean. Cool in the pan, over a wire rack. Cut into slices to serve – it’s best warm, but it tastes delicious at room temperature as well.
Makes 16
Sunday, November 2, 2014
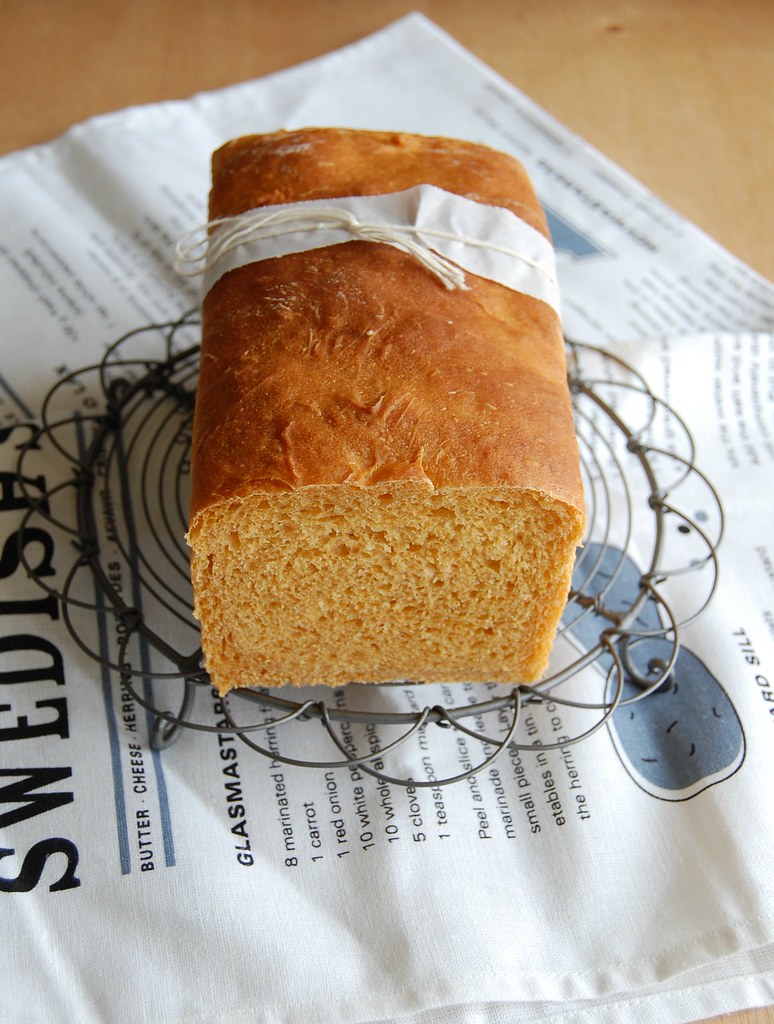
Red curry and coconut bread - the most unusual bread I have ever made
Months ago I purchased a very interesting cookbook filled with recipes of bread and soups, two things I deeply love. I patiently and eagerly waited for the cold days of winter to show up around here, but unfortunately this year they were a handful only – it’s been hot for so long it feels like summer never ended.
For that reason, I postponed the plan of making the delicious soups I saw on the book and decided to focus on the bread instead: the recipes looked equally flavorsome.
I started with the one I found the most unusual bread, a loaf made with red curry paste and coconut – I had some paste in the fridge and could not wait to discover how it would flavor the bread. The loaf turned out very unusual, indeed, and I’ll admit it: it’s not everyone’s cup of tea – one has to like spicy food to enjoy the bread.
I thought it tasted great with a simple vegetable soup (the temperature dropped a day after I baked the bread, go figure), but I found that the killer way of having this bread was turning it into grilled cheese – it was delicious beyond words.
Red curry and coconut bread
slightly adapted from the delicious The Soup & Bread Cookbook: More Than 100 Seasonal Pairings for Simple, Satisfying Meals
scant ½ tablespoon dried yeast
½ tablespoon granulated sugar
100ml warm water
1/3 cup (80ml) unsweetened coconut milk
1 ½ tablespoons red curry paste
½ teaspoon table salt
2 cups (280g) all purpose flour
Place yeast, sugar and water in a large bowl and stir to combine. Set aside until foamy, about 5 minutes. Add the coconut milk, curry paste, salt and flour and mix until a dough starts to form. Cover and set aside for 15 minutes.
Knead for about 10 minutes (or 5 using an electric mixer) or until smooth and elastic. Place onto a large lightly oiled bowl, turn to coat, then cover with plastic wrap and set aside in a warm place for 1 hour or until doubled in volume.
Butter a 21.5x11.5cm (8.5x4.5in) loaf pan (6-cup capacity). Transfer the dough to a lightly floured surface and roll it into a 20x30cm (8x12in) rectangle. Roll it tight to form a cylinder, then place onto prepared pan. Cover and set aside again for 45 minutes – in the meantime, preheat the oven to 200°C/400°F.
Bake the bread until golden and loaf sounds hollow when tapped, about 30 minutes. Cool in the pan over a wire rack for 5 minutes, carefully unmold and transfer to rack to cool completely.
Makes 1 loaf

