Going through one of my cookbooks in search of a salad recipe, I “accidentally” opened it in the sweet chapter. :)
In one of his twice a year sudden urges for sweets, João saw a photo of cocada (a very traditional candy made of coconut) and asked me to make it.
As I would not be able to find freshly grated coconut to make that specific recipe, I remembered something I had seen on a dear friend’s blog – a fantastic cocada recipe that called for sweetened condensed milk.
The cocadas were simply wonderful! I had only 1 – the horror, the horror – but João ate several.
While mixing the ingredients in the pan, I thought the dough was a bit dry and decided to add a little milk. On the following day, I wrote to my friend and she told me that after you start cooking the mixture it comes together correctly.
Anyway, the recipe worked perfectly and has already become one of this blog’s favorites.
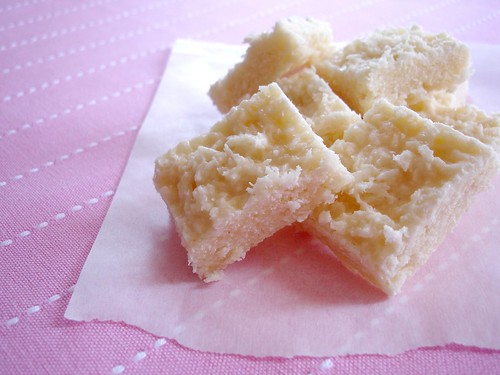
Sweetened condensed milk cocada
1 can sweetened condensed milk (395g)
2 cans granulated sugar – use the empty condensed milk can to measure it
200g unsweetened desiccated coconut
1 teaspoon unsalted butter, room temperature
6 tablespoons milk – I used 1% fat, the one I had at home
Grease a 30x20 cm baking pan with butter. Set aside.
Mix the condensed milk, sugar, coconut, butter and milk in a heavy-bottom saucepan and cook over medium-low heat, stirring constantly – when the bottom of the pan starts to show and the mixture is a bit thicker (20-25 minutes), remove from heat and immediately pour the mixture into the prepared pan.
Set aside to cool and then cut into squares.
Makes 38 pieces