As I opened my freezer to get egg whites to make financiers I found four frozen bananas stashed there, sitting next to a bag of peas. I immediately thought “ok, financiers and banana cake” – nothing wrong with that, right? :)
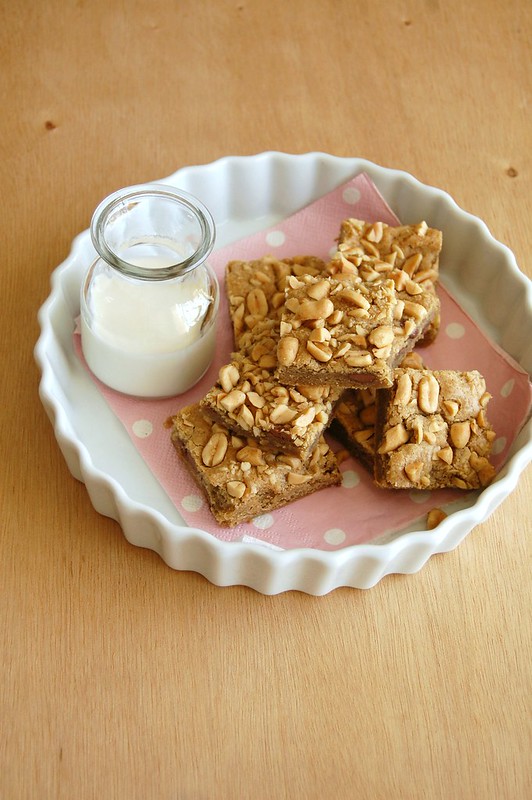
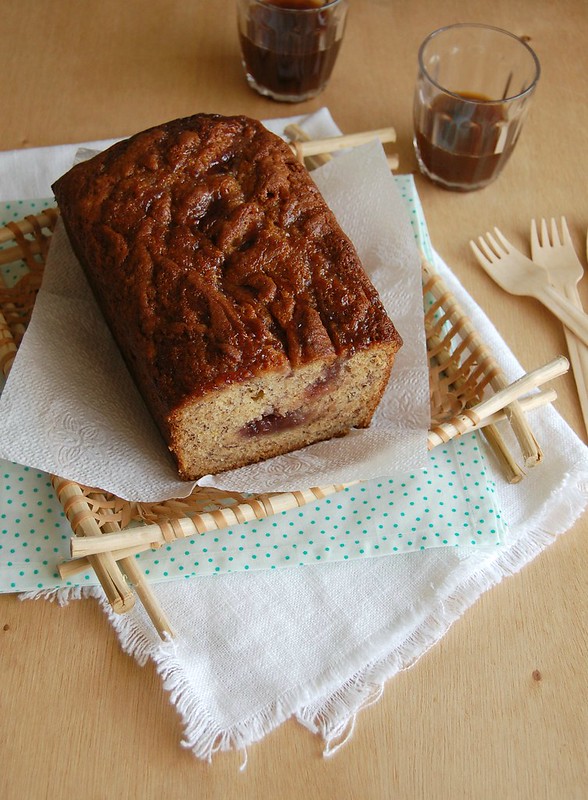
Then I opened the fridge to get some butter and saw a jar of raspberry jam (I can’t live without jam, so I bought another jar right after I used what I had around to make these blondies) – that triggered my memory: I was almost 100% sure I’d seen a jam swirled banana bread somewhere (here, to be more precise). So I decided my banana cake (or bread, in this case) would have a jam swirl, but raspberry, since I find strawberry jam a tad too sweet. The marbled effect looked beautiful and the flavor was great, too.
Banana cakes or muffins are versatile little beauties, aren’t they? They taste delicious plain, with berries, chocolate, coconut, maple syrup, honey, with lemon icing and with jam – they remind me of the talented (and handsome) Mark Ruffalo, who I saw this morning being cute and funny in the trailer for Begin Again, and physically transformed and dark in the movie I most want to watch this year.
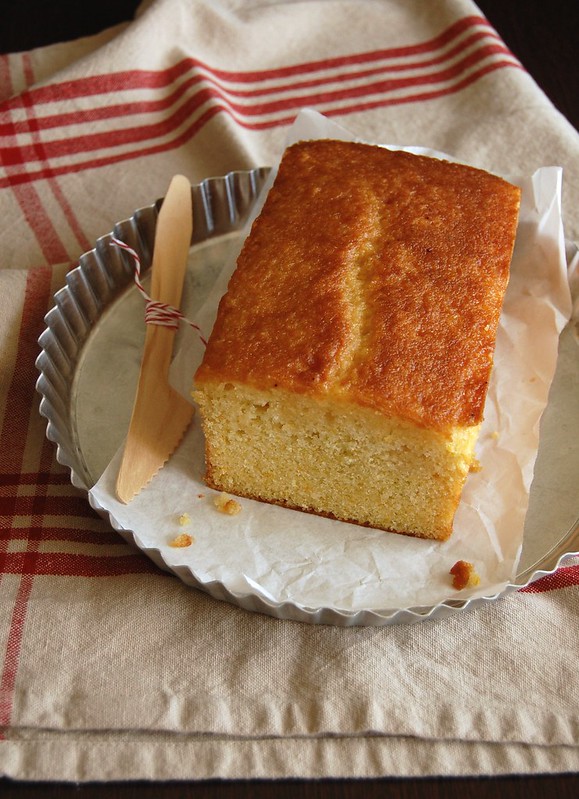
Banana-jam swirl bread
from the delicious Better Homes and Gardens Baking: More than 350 Recipes Plus Tips and Techniques
2 cups (280g) all-purpose flour
1 ½ teaspoons baking powder
½ teaspoon baking soda
½ teaspoon ground cinnamon
¼ teaspoon salt
¼ teaspoon ground nutmeg
2 eggs, lightly beaten
1 cup very ripe mashed bananas (about 4 medium)
1 cup (200g) granulated sugar
½ cup (120ml) canola oil or melted butter (I used ¼ cup of each)
1 teaspoon vanilla extract
½ cup raspberry jam
Preheat oven to 180°C/350°F. Lightly butter a 22.5x12.5cm (9x5in) loaf pan, line it with baking paper and butter the paper as well.
In a large bowl combine flour, baking powder, baking soda, cinnamon, salt, and nutmeg. Make a well in the center of the flour mixture; set aside.
In a medium bowl combine eggs, bananas, sugar, oil and vanilla. Add egg mixture all at once to flour mixture. Stir just until moistened (batter should be lumpy). Transfer batter into prepared pan, spreading evenly. Spoon jam on top of the batter and use a knife or thin metal spatula to swirl jam into batter. Bake for 55-60 minutes or until a wooden toothpick inserted in the center comes out clean. Cool in pan on a wire rack for 15 minutes, then carefully remove from the pan and transfer to a wire rack to cool completely.
Serves 8-10