Today’s post is a short one: I almost sliced off the tip of my middle finger, so it’s pretty difficult to type. :(
All I’ll write is: make this ice cream. Right now, if possible.

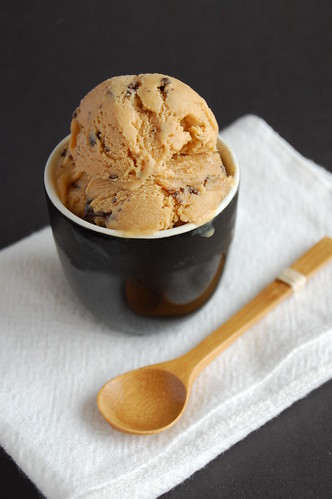
Choc chip salted butter caramel ice cream
from the ice cream Wiz
2 cups (480ml) whole milk
1½ cups (300g) caster sugar
4 tablespoons (58g) salted butter
scant ½ teaspoon sea salt (I used Maldon)
1 cups (240ml) heavy cream
5 large egg yolks
¾ teaspoon vanilla extract
140g dark chocolate, finely chopped
Start by making an ice bath by filling a large bowl about a third full with ice cubes and adding a cup or so of water so they're floating. Nest a smaller metal bowl (at least 2 quarts/liters) over the ice, pour 1 cup (240 ml) of the milk into the inner bowl, and rest a mesh strainer on top of it.
Spread the sugar in a medium saucepan in an even layer. Cook over moderate heat, until the edges begin to melt. Use a heatproof utensil to gently stir the liquefied sugar from the bottom and edges towards the center, stirring, until all the sugar is dissolved. (Or most of it—there may be some lumps, which will melt later.)
Continue to cook stirring infrequently until the caramel starts smoking and begins to smell like it's just about to burn. It won't take long. Once caramelized, remove from heat and stir in the butter and salt, until butter is melted, then gradually whisk in the cream, stirring as you go – be extremely careful, for the caramel will bubble like crazy once the cream is added; you might want to step away from the pan.
The caramel may harden and seize, but return it to the heat and continue to stir over low heat until any hard caramel is melted. Stir in 1 cup (240ml) of the milk.
Whisk the yolks in a small bowl and gradually pour some of the warm caramel mixture over the yolks, stirring constantly. Scrape the warmed yolks back into the saucepan and cook the custard using a heatproof utensil, stirring constantly (scraping the bottom as you stir) until the mixture thickens. If using an instant-read thermometer, it should read 71-77°C (160-170°F).
Pour the custard through the strainer into the milk set over the ice bath, add the vanilla, then stir frequently until the mixture is cooled down. Refrigerate at least 8 hours or until thoroughly chilled.
Freeze the mixture in your ice cream maker according to the manufacturer's instructions.
While ice cream is freezing, melt chocolate in clean metal bowl set over a saucepan of barely simmering water, stirring frequently, then transfer to a 1-cup glass measure. When ice cream has finished churning, carefully pour chocolate in a slow stream directly onto ice cream as it churns and continue to churn 30 seconds (chocolate will harden in streaks). Transfer ice cream to an airtight container and put in freezer until firm, at least 4 hours.
Because of the caramel in this ice cream, once churned and frozen, it'll remain nice & creamy (as shown in David’s photo.) To make it firmer, crank up your freezer a bit or store it in a shallow pan.
Makes 1 generous liter (quart)