I once took a test at college (given by one of the professors) and the result was that I was a synesthesic person. As I read about it and the professor explained it, the result actually felt right.
Most of my colleagues got "visual" as a result, meaning they were visual people. I'm not sure I would get the same result if I took the test today (that was seventeen years ago), but I believe that the percentage of my answers leaning towards "visual" would be higher, since I feel that really latent sometimes, especially when it comes to food. I go crazy with books, magazines and blogs packed with stunning photos and I sometimes I tend to choose a recipe because of how the food looks - that is why I love making thumbprint cookies, they always look so adorable! <3
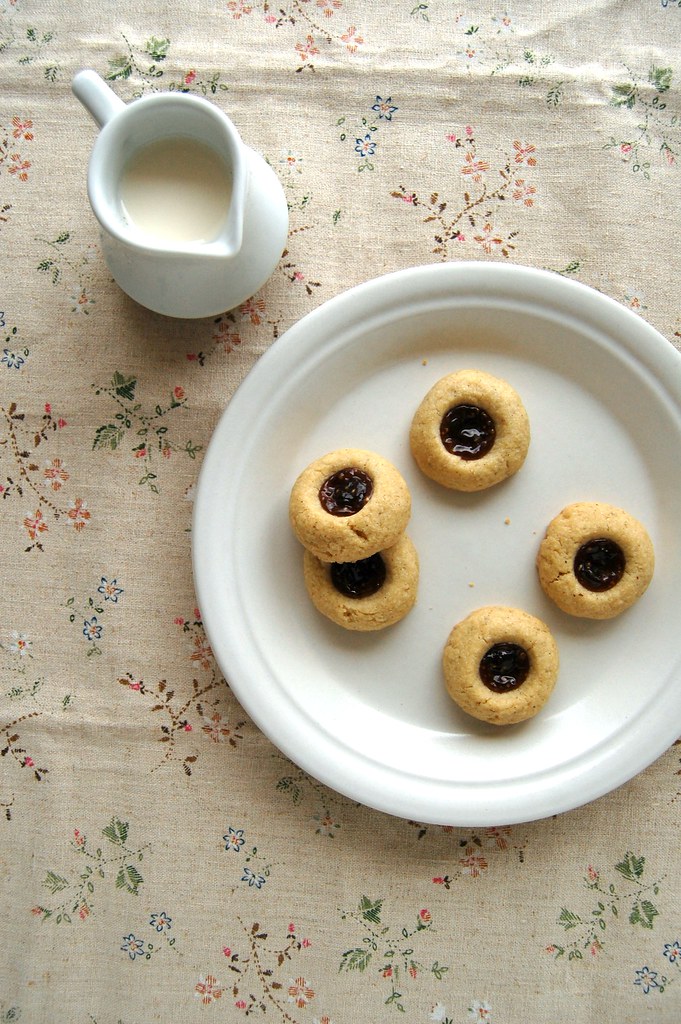
These are made with a combination of all purpose flour and buckwheat flour, and the fig jam paired perfect with it. I believe that marmalade would be an interesting choice for the buckwheat flavor too, but I'll have to try that next time. :)
Buckwheat thumbprints with fig preserves
adapted from the great Great Cookies: Secrets to Sensational Sweets
1 ½ cups (210g) all-purpose flour
½ cup (70g) buckwheat flour
1/8 teaspoon salt
200g unsalted butter, slightly firm
½ cup (100g) granulated sugar
2 large egg yolks
1 teaspoon vanilla extract
fig preserves, or use the flavor you like the most
Preheat the oven to 180°C/350°F. Line two large baking sheets with baking paper.
Mix together the flours and salt in a large bowl. In the bowl of an electric mixer fitted with the paddle attachment, mix the butter on medium-low speed until smooth. Pour in the sugar and mix just until incorporated. Add the egg yolks and vanilla, mixing only until blended. Using a rubber spatula, stir in the dry ingredients in two additions, mixing just to combine after each addition. Do not overmix or this dough will become oily.
Roll 1 leveled tablespoon of dough into balls and place 5cm (2in) apart on a lined cookie sheet. Using a wooden spoon with a rounded handle no wider than 1cm (½in), make a deep indentation with the tip of the handle in the center of each cookie. Place the cookies in the oven. After 10 minutes, remove the cookies from the oven and re-press each indentation. Then fill the centers with preserves. Do not overfill these or the preserves will run over.
Return the cookies to the oven, rotating the pans top to bottom and front to back. Bake for 5-7 minutes longer until the cookies are golden brown around the edges. Cool in the sheets for 2 minutes, then slice the paper with the cookies to a wire rack and cool completely.
Makes about 45 cookies


1 comment:
Lovely cookies! I know I'd be drawn to these darlings if I saw them in a magazine. :D
Post a Comment