My dear and
lovely readers, I hope you are all well and having a very nice year so far. It
has been a very, very long time since I last posted something on this blog, so
I would be surprised if anyone stopped by, but anyway I would like to talk to
you today about New Year’s resolutions (in April – I know, I know). 😊
In the beginning
of 2023 I made a list of resolutions for that year and I kept it very small to
avoid frustrations: I wanted to finish writing my e-book (in Portuguese) and
publish it (did it on June 2), to exercise more often (still to be improved in
2024, but I started and it was very good for me) and to treat myself more
kindly than I used to (this is a work in progress so it is on the 2024 list as
well).
To my
surprise, the e-book has sold many copies, I have received several emails and
messages from people who bought it saying they loved it, also received photos
of some of the recipes being prepared at my readers’ homes… It was one of the
best things I had in my whole life.
By early
January this year I decided to write again the list of resolutions, and again I
would keep it small: one of them was to keep blogging, at least once a month, even
though blogs cannot compete nowadays with Instagram and TikTok (I must be
honest and say that I don’t even know how to use the latter, I’m too old for
that). So far I have managed to keep that promise for my blog in Portuguese (I
even posted twice back in February), therefore I will do the same with this
blog in English.
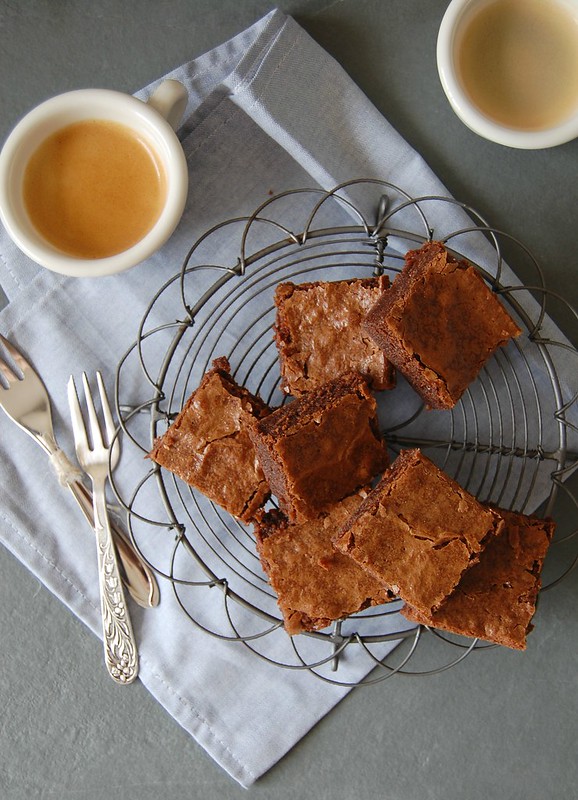
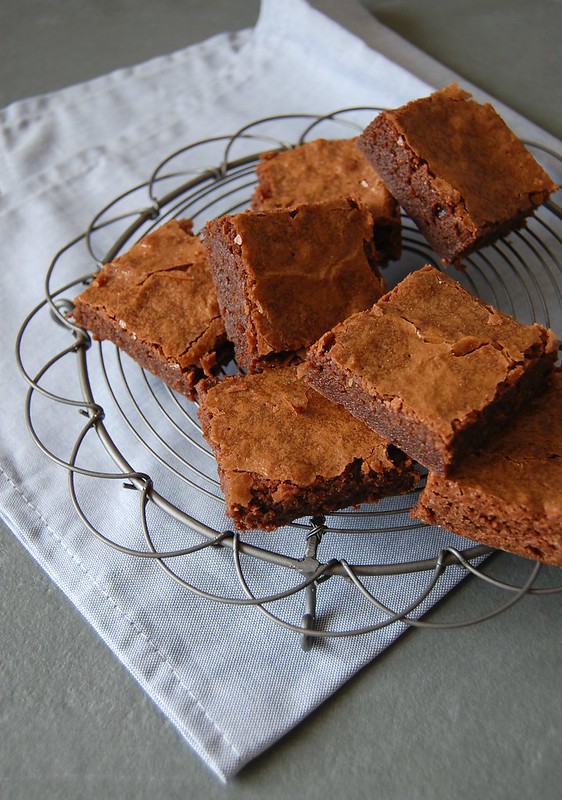
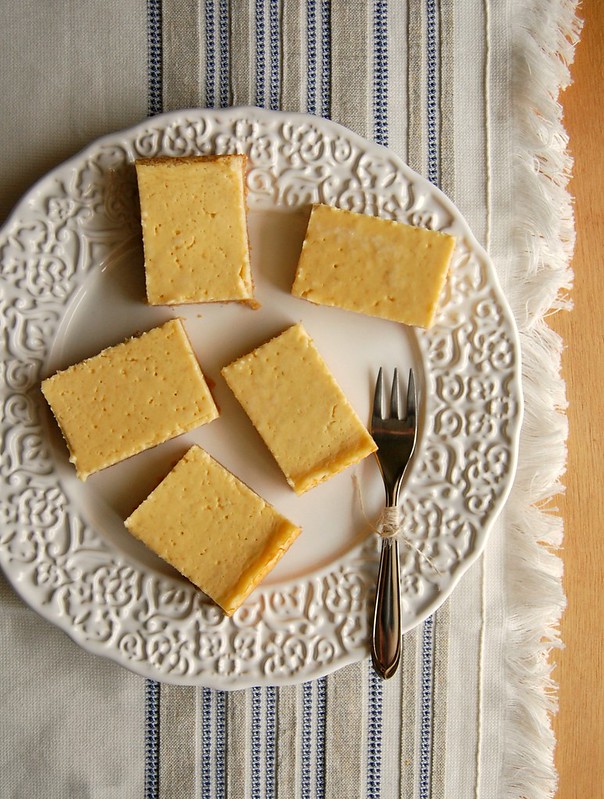
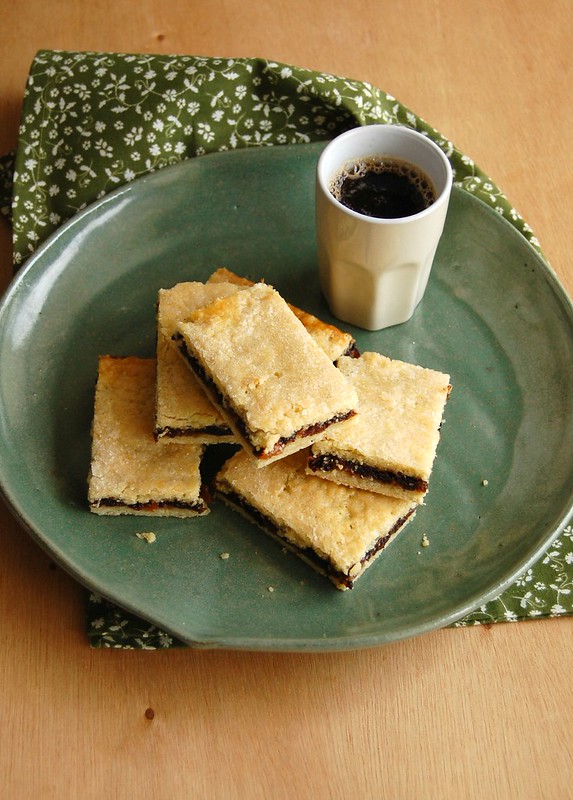
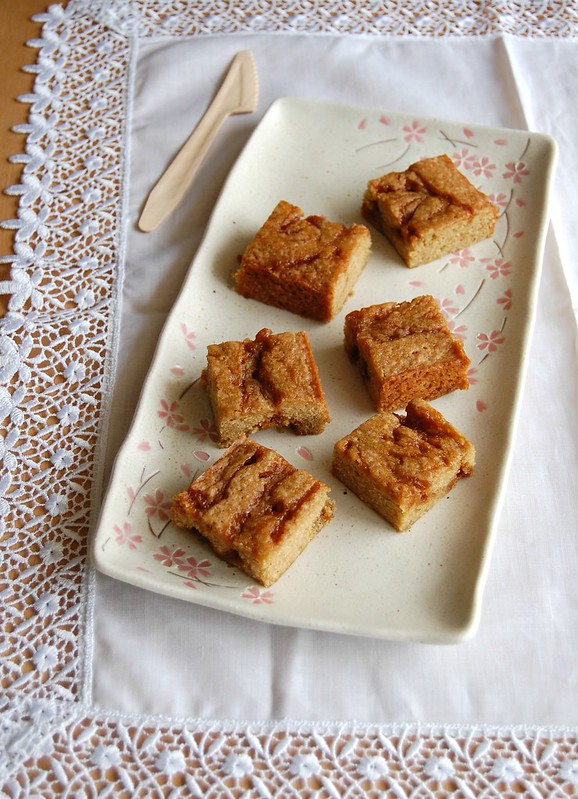
I’ll start with
these delicious apple blueberry bars, that were meant to be blueberry bars
only, but when I checked my freezer, I saw that my blueberry stash was not as
big as I thought. One look at my counter and the beautiful apples I had brought
home a couple of days before almost smiled at me, begging to be used: they were
the perfect pair for the blueberries and the bars turned out wonderful.
Apple blueberry bars
own recipe
Crust and topping:
2 cups (280g) all purpose flour
1/3 cup (46g) fine corn flour/corn meal (not corn starch) – if you cannot
find it, replace with all purpose flour
¼ teaspoon ground cinnamon
¼ teaspoon fine salt
1/3 cup + 1 tablespoon (total of 78g) granulated sugar
¾ cup (170g) unsalted butter, melted
and cooled
Filling:
2 medium Gala apples (total of 250g)
1 cup (150g) blueberries, fresh or frozen (unthawed)
¼ cup (50g) granulated sugar
1 teaspoon corn starch
pinch of salt
½ tablespoon lime or lemon juice
Preheat the oven to 180°C/350°F. Lightly brush a 20cm (8in) square
baking pan with butter, line it with foil leaving an overhang in two opposite sides
and butter the foil as well. Set aside.
In a medium bowl whisk together the all purpose flour, corn flour, cinnamon,
salt and sugar. Add the butter and whisk it in using a fork until you get
coarse breadcrumbs texture. Transfer 2/3 of this mixture to the prepared pan
and spread it evenly on the bottom. Press the mixture down onto the bottom of
the pan (using your fingertips or a small measuring cup) to make the crust of
the bars. Freeze the base and the remaining mixture for 10 minutes while you
prep the fruit.
Core the apples, remove the seeds and cut into 1cm (little less than ½ inch)
cubes. Transfer to a medium bowl, add the blueberries, sugar, corn starch, salt
and lime/lemon juice and mix to combine.
Remove the pan and bowl from the freezer. Spread the fruit evenly over
the base and sprinkle over the remaining mixture – you can squeeze portions of
the mixture in your hand to create different sizes of crumbles if you like.
Bake for 35-40 minutes or until golden. Remove from the oven and let
cool completely over a wire rack before slicing and serving.
Makes 16