You might think that I obsess over sweet ingredients only – and taking a look at the blog, who can blame you? :) – but some savory ingredients make me so happy I want to include them in just about anything. Chorizo is one of them: ever since I tried it for the first time I have been using it in several dishes, always with delicious results.
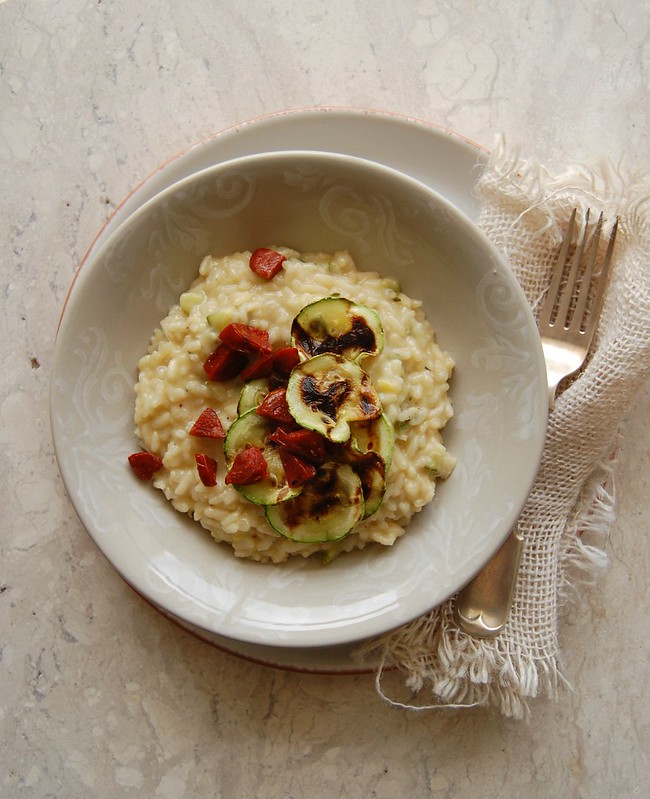
I make risottos often and it was only a matter of time before I added chorizo to them, however, I was trying to play with different textures and wanted to add layers to my risotto. Adding the crunchy bits of chorizo on top was one of the ideas, which turned out to be a win/win situation, since I used the fat rendered from the chorizo to coat the rice and removing it from the saucepan before adding the liquid I avoided it from going soft. I also wanted two different textures for the zucchini, so half of it was thinly sliced and grilled – which added a nice smoky flavor – and the other half was incorporated in the risotto. I do not mean to brag, but this is one of the most delicious dishes I have ever cooked.
Zucchini and chorizo risotto
own recipe
Grilled zucchini:
1 large zucchini (about 200g/7oz)
olive oil
salt
For the risotto:
50g (2oz) chorizo sausage, in small cubes
1 ½ tablespoons unsalted butter – divided use
½ small onion, finely diced
1 sprig of fresh thyme
¾ cup (165g) Arborio or Carnaroli rice
¼ cup (60ml) dry white wine
3 cups (720ml) hot vegetable stock
salt and freshly ground black pepper
50g (2oz) Canastra cheese, coarsely grated*
2 tablespoons finely grated parmesan cheese
Slice half the zucchini into thin slices and dice the remaining in to small cubes. Set the cubes aside (they will go in the risotto). Drizzle the zucchini slices with just a bit of oil and season with salt. Heat a large nonstick skillet or frying pan over medium-high heat and grill the zucchini slices for 1-2 minutes each side or just until golden. Set aside on a plate.
Heat the chorizo cubes in a medium saucepan over medium-high heat, stirring occasionally so the pieces brown evenly. As soon as they are crispy, remove them from the saucepan using a slotted spoon and transfer to a plate lined with paper towels. Add ½ tablespoon of the butter to the saucepan , followed by the onions and sprinkle with a little salt. Cook, stirring occasionally, until onion is translucent. Add the zucchini cubes and the thyme sprig and cook for 2 minutes. Add the rice and cook for 2-3 minutes, stirring, until rice is nicely coated in the fat. Stir in the wine and cook until it evaporates. Stir in the hot stock, 1 ladleful at a time, and continue to cook, stirring until all the stock is absorbed, before adding more stock.
Repeat this until all the stock has been used, the rice is al dente and the risotto is thick and glossy – about 20 minutes (you might not use all the stock). Season with salt and pepper, but go easy on the salt since chorizo and parmesan might be salty.
When the rice is al dente, remove the thyme sprig and stir in the cheeses and the remaining 1 tablespoon of butter. Check the seasoning, put the lid on and wait 2 minutes. Transfer the risotto to the serving plates, top each with the grilled zucchini slices and the crispy chorizo and serve immediately.
* for this recipe I used a kind of cheese typical from Brazil called Canastra cheese. Feel free to replace it with Grana Padano, more parmesan or any other cheese you like – just keep in mind that chorizo can be salty, so very salty cheeses might not go well in this recipe
Serves 2
Thursday, August 31, 2017
Zucchini and chorizo risotto - a truly delicious recipe
Wednesday, August 30, 2017
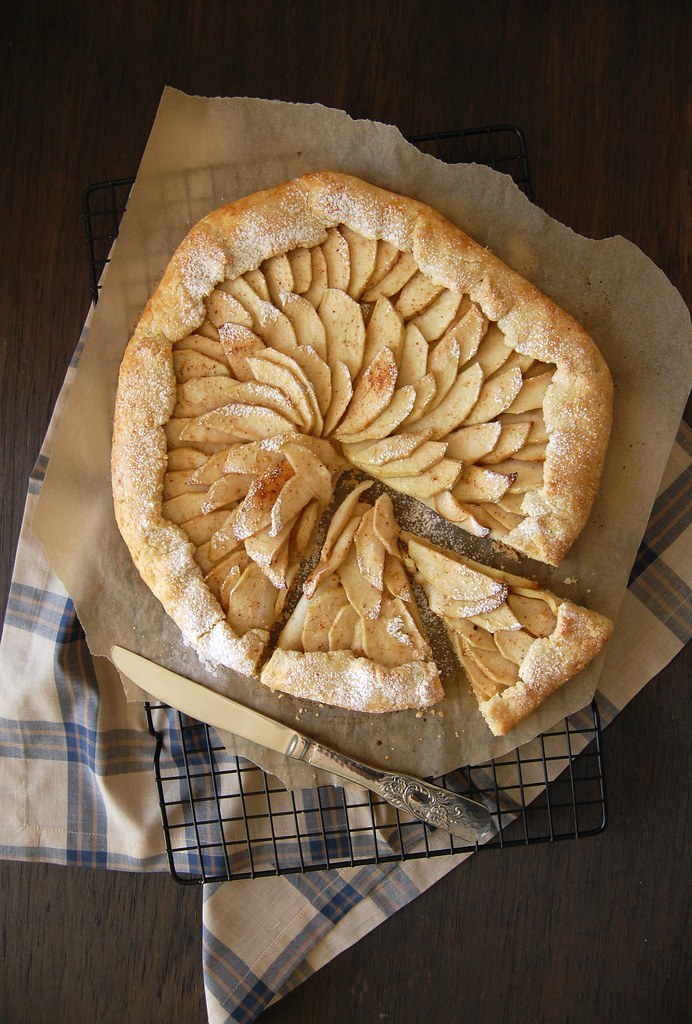
Coconut apple galette - coconut, again :)
Even though it is a controversial ingredient/flavor, I do love coconut and when I was working on the book project I tried to include it in several different recipes – not only I got delicious results out of it, but it was much cheaper than my lemon frenzy. :)
I made muffins, cakes, crumbles, popsicles and cookies using coconut, and I cannot wait to share more with you: today I bring you a galette, in which I replaced part of the flour with desiccated coconut. I paired the lovely coconutty pastry with apples and added a touch of both lime (in zest and juice form) and cinnamon to the fruit – it tasted and smelled delicious.
This galette is wonderful either warm or at room temperature, but I urge you to try it warm with vanilla ice cream on the side – it is truly heavenly.
Coconut apple galette
own recipe
Pastry:
1 ¾ cups (245g) all purpose flour
1/3 cup (33g) unsweetened desiccated coconut
2 tablespoons granulated sugar
pinch of salt
¾ cup (170g) unsalted butter, chilled and diced
1/3 cup (80ml) iced water
Filling:
4 Granny Smith apples (about 700g/1 ½ pounds), peeled, cored, cut in half then thinly sliced
¼ cup (50g) granulated sugar
finely grated zest of 1 lime
freshly squeezed juice of ½ lime
½ teaspoon ground cinnamon
Egg wash:
1 egg yolk + 1 teaspoon whole milk, room temperature, whisked well together in a small bowl
Start by making the pastry: in a food processor, pulse flour, coconut, sugar and salt until well combined. Add the butter and pulse a few times until mixture resemble coarse breadcrumbs. With the motor running, gradually add the water and mix just until a dough forms. Form dough into a ball, wrap in plastic wrap and refrigerate for 1 hour.
Preheat the oven to 200°C/400°F. Place the dough onto large piece of baking paper, cover with another piece of paper and roll into a rough 30cm (12in) circle. Slide the paper into a baking sheet.
Place the apples in a bowl with the sugar, lime zest and juice and cinnamon and toss to combine. Arrange the apple slices on the center of the dough – arrange them as you please. I prefer to put them side by side, that way the heat can circulate better through the fruit and tart bakes more evenly. Carefully fold one edge in towards the center of the fruit and continue folding all the way round, bringing the edge of the pastry towards and over the apple slices. Brush the pastry with the egg wash and bake for about 40 minutes or until pastry is golden. Serve warm or at room temperature.
Serves 6-8
Tuesday, August 29, 2017
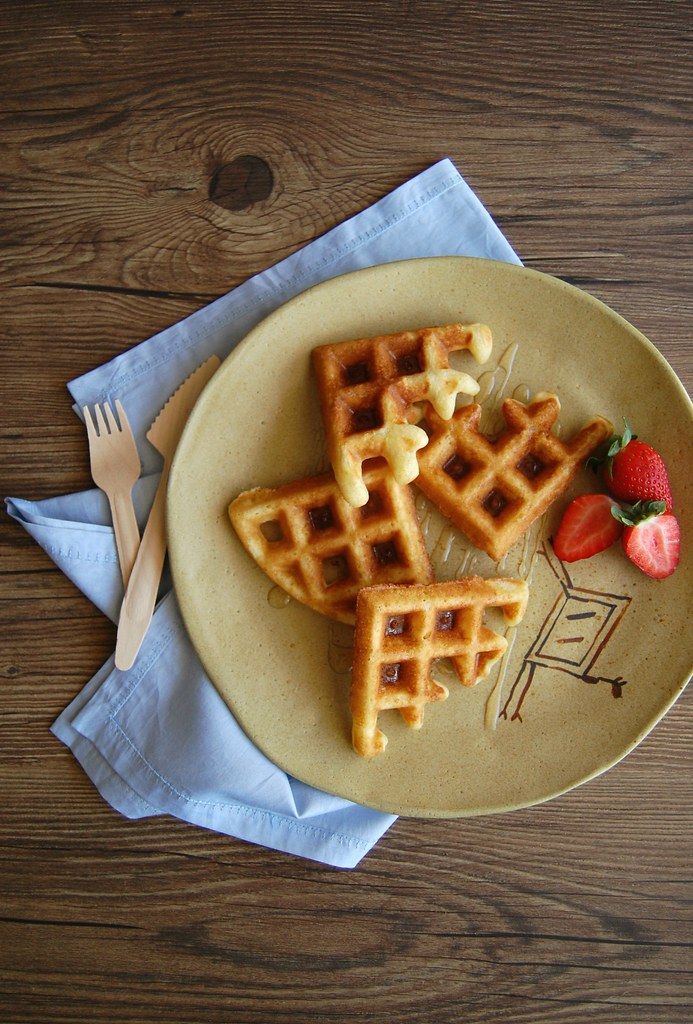
Orange olive oil waffles
I do not make waffles very often because my husband does not like them, leaving me to eat the whole batch alone (not pretty), but since I like them a lot I am always interested in trying new flavors and toppings. A bit of research led me to the fact that the key to get crispier, crunchier on the outside waffles was to use oil instead of butter, and it actually worked.
Now that I no longer can eat regular dairy I have been making my waffles like the ones I bring you today, with olive oil and lactose-free milk, but if you prefer the butter flavor over the crispy texture it is just a matter of replacing the olive oil with melted unsalted butter.
I absolutely love the combination of orange and blueberries – one of my favorite flavor combos – so it is my duty to tell you that the waffles taste amazing served with the baked blueberry jam I posted a couple of years ago (it works well with frozen, thawed blueberries when fresh ones are not available).
Orange olive oil waffles
own recipe
2 tablespoons granulated sugar
finely grated zest of 1 large orange
1 ¼ cups all purpose flour
2 teaspoons baking powder
pinch of salt
1 large egg
¼ cup (60ml) extra virgin olive oil
¾ cup (180ml) whole milk, room temperature
½ teaspoon vanilla extract
In a medium bowl, place the sugar and orange zest and rub them together with your fingertips until sugar is fragrant. Add the flour, baking powder and salt and whisk well.
In a small bowl, whisk together the egg, olive oil, milk and vanilla. Pour over the dry ingredients and stir just until incorporated – do not overmix.
Heat a waffle iron until very hot; lightly coat with nonstick spray – my waffle maker is nonstick, so I do not coat it.
Working in batches, cook waffles until golden and cooked through. Transfer to a wire rack set inside a baking sheet and keep warm in oven until ready to serve.
Makes 5-6 waffles
Friday, August 25, 2017
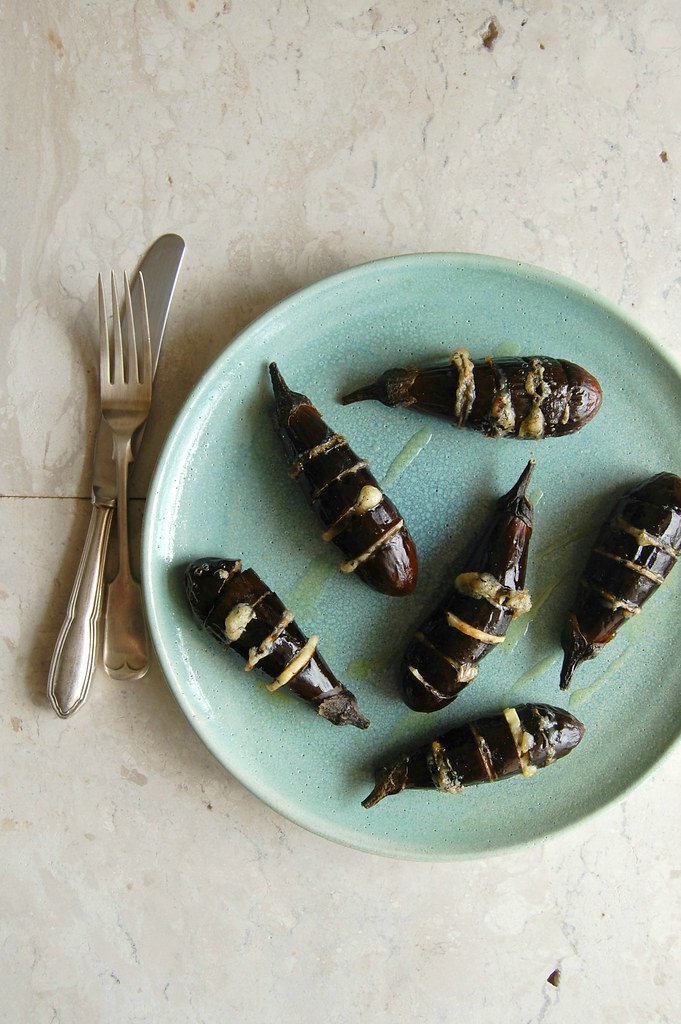
Hasselback baby eggplants
If you have been reading me for a while now you probably know that I am a huge fan of Nigella Lawson – I was lucky enough to meet her a few years ago and got one of my books autographed. She is the one who, ages ago, introduced me to Hasselback potatoes, a recipe I find not only delicious but also really pretty.
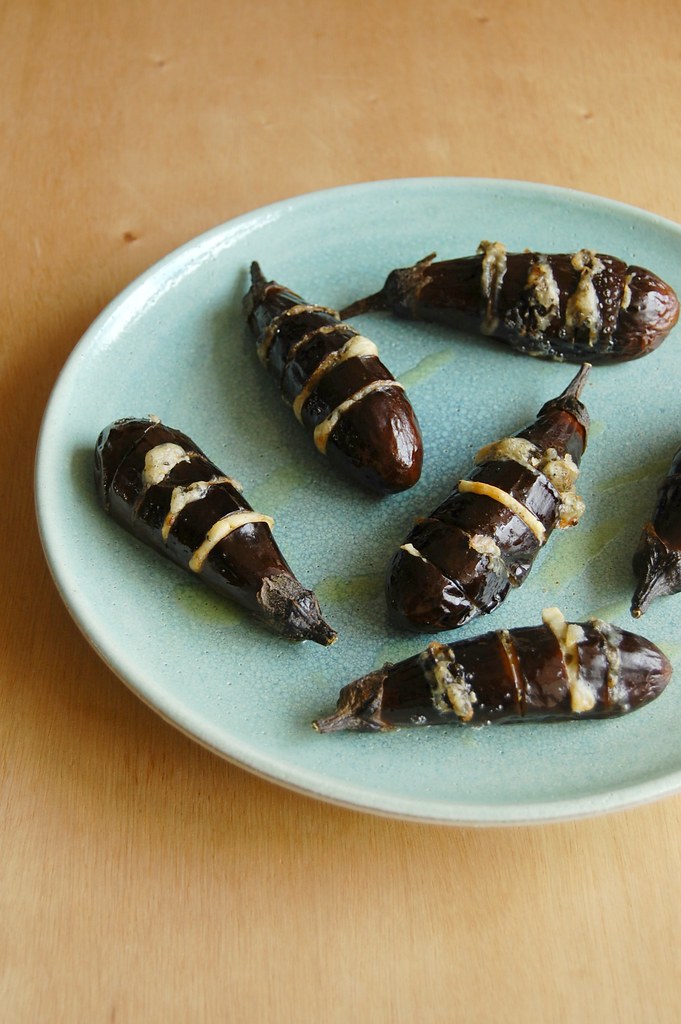
When I was still working on the book project, I thought one day: “why not Hasselback other veggies, too?”. One day, at the farmer’s market, I saw these beautiful baby eggplants and the Hasselback feeling came back to my mind. To make things more interesting, there had to be cheese, of course, but a strong flavored one. A drizzle of garlic oil turned everything into a delicious and perfumed side dish – if my husband saw this post he would strike the word “perfumed” off, for that and “gorgonzola” cannot be in the same sentence as far as he is concerned. :D
Hasselback baby eggplants
own creation
12 baby eggplants (about 600g/little less than 1 ½ pounds)
4 ½ tablespoons extra virgin olive oil
1 large garlic clove
salt and freshly ground black pepper
75g gorgonzola cheese, firm enough to be sliced
Preheat the oven to 200°C/400°F. Tear 12 pieces of foil, about 20x20cm (8x8in) each, then crumple each one of them formatting into little nests – they will be the support for each eggplant, that way they don’t roll around the baking sheet.
Place the foil nests on a large baking sheet and brush their cavities with a little of the olive oil. Set aside.
In a mortar and pestle, place the garlic and salt and pound until a paste forms. Add the black pepper and the remaining olive oil and mix well.
Place each eggplant on a wooden spoon and cut into slices without going through the end – you want the eggplant to remain whole. Cut the gorgonzola into thin slices and place them inside the slits in the eggplants – make sure the cheese slices are thin enough to fit into the eggplants. Place the eggplants into the foil nests and drizzle with the garlic oil. Bake for about 25 minutes or until eggplants are tender.
Serves 4 as a side dish
Wednesday, August 23, 2017
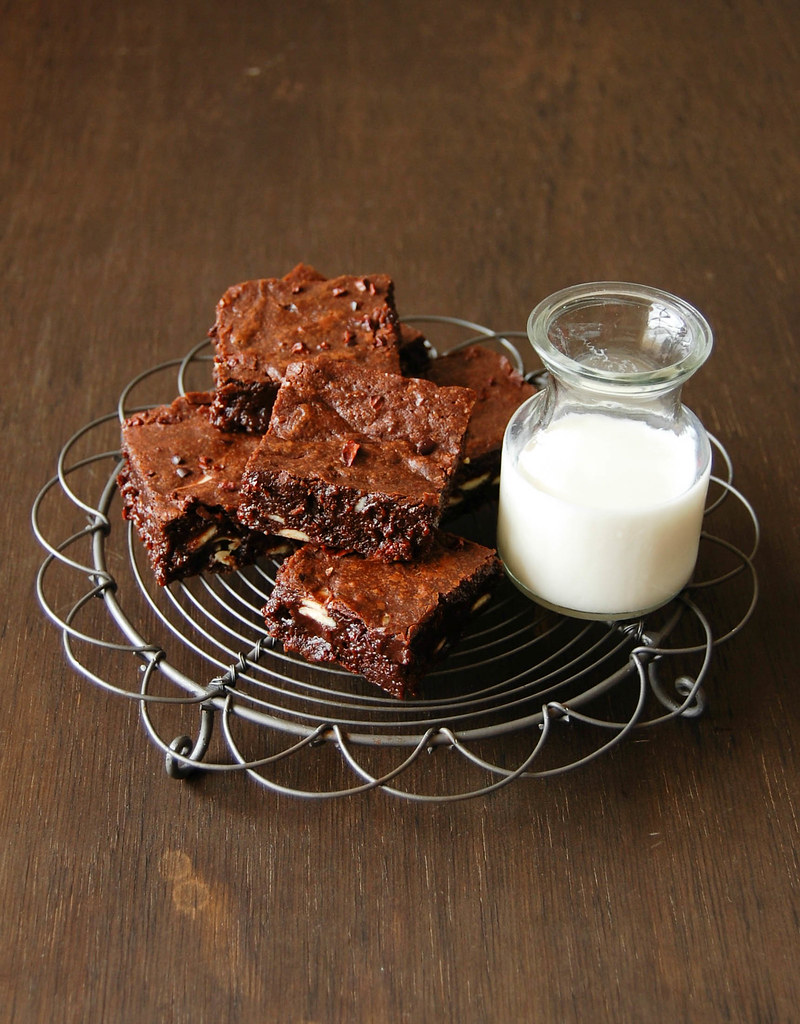
Brownies with white chocolate chips and cocoa nibs
One can tell that I am crazy for brownies by the amount of brownie recipes on this blog, however in my defense I have to say that I do not bake them for my own pleasure only: every time I want to make someone’s day better I give brownies as gifts (some of my friends already know that very well). :)
I had a small package of cocoa nibs at home and wanted to use them in a nice recipe – since they are on the bitter side, I thought that pairing them with the sweetness of white chocolate would work well - the creamy, gooey brownies are the perfectly vessel for that flavor encounter, and I added a touch of dark cocoa powder to the batter for extra richness.
Brownies with white chocolate chips and cocoa nibs
own recipe
¾ cup (170g) unsalted butter, softened and chopped
170g dark chocolate, finely chopped – I used one with 53% cocoa solids
1 cup (200g) granulated sugar
1 teaspoon vanilla extract
3 large eggs, room temperature
¾ cup (105g) all purpose flour
1/3 cup (30g) unsweetened cocoa powder, sifted
¼ teaspoon baking powder
1/8 teaspoon table salt
100g white chocolate chips
1/3 cup (40g) cocoa nibs
Preheat the oven to 180°C/350°F. Butter a 20cm (8in) square pan, line it with foil leaving an overhang on two opposite sides, and butter the foil as well.
In a large bowl set over a saucepan of simmering water (do not let the bottom of the bowl touch the water) combine butter and chocolate and stir occasionally until both are melted. Remove from the heat and cool slightly. Whisk in sugar and vanilla. Whisk in the eggs, one at a time, until smooth. Stir in the flour, cocoa, baking powder and salt, mixing just until incorporated. Stir in the white chocolate chips and cocoa nibs.
Spread batter into prepared pan and smooth the top. Bake for about 20 minutes or until a toothpick inserted in the center of the brownies comes out with moist crumbs. Cool completely in the pan over a wire rack. Cut into squares to serve.
Makes 16