And since we were talking about food waste the other day, let me tell you that the granola saga did not end with the cookies I posted the other day: even after a large batch of cookies I still had two handfuls of granola left and no intention of eating it with milk or yogurt. :(
I was saved by the wonderful Nigella Lawson and her granola muffins recipe: it was easy and quick, and in her recipes I trust completely. When I weighed my granola, I had exactly 252g of it – I turned the oven on immediately. :D
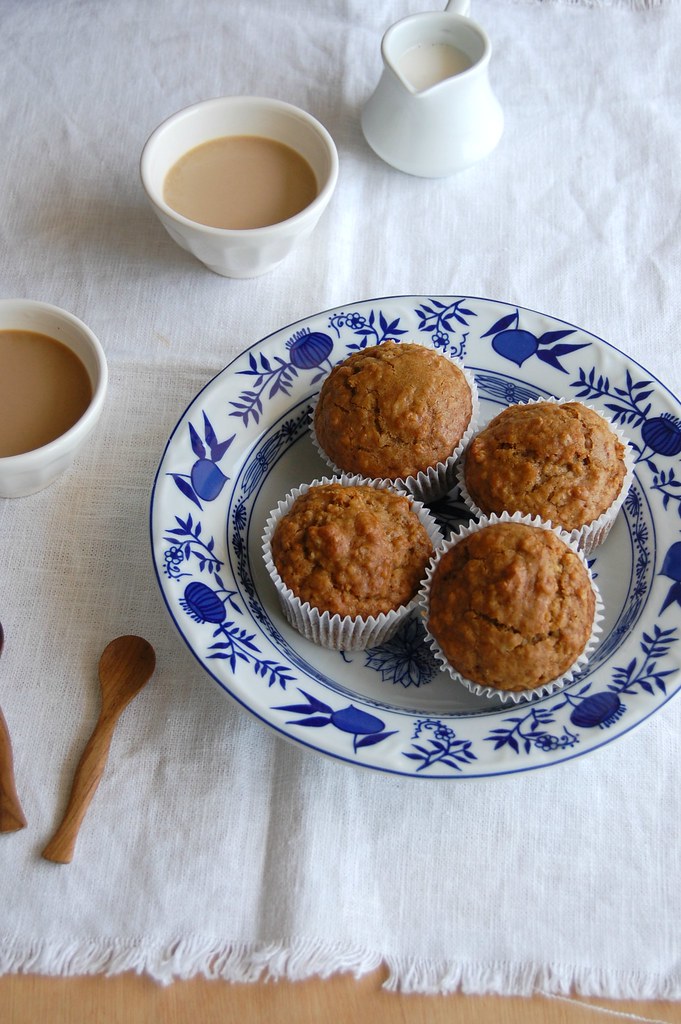
The muffins turned out tender and tasted delicious – it was a great way to use up the unwanted granola. I think that a bit of cinnamon would have done wonders for them – just a hint to any of you who might have a jar of granola begging to be used, too.
Granola muffins
from the always delicious Feast: Food That Celebrates Life
1 ½ cups (210g) all-purpose flour
1 teaspoon baking soda
1/8 teaspoon table salt
1 cup (240ml) buttermilk*
1 large egg
¾ cup (130g) light brown sugar, packed
⅓ cup (80ml) canola oil
1 teaspoon vanilla extract
250g granola
Preheat oven to 200°C/400°F. Line a 12-cup muffin pan with paper liners.
In a large bowl combine the flour, baking soda and salt. In a small bowl whisk together the buttermilk, egg, sugar, oil and vanilla. Pour liquid mixture into dry mixture and stir just until combined; do not overmix. Add granola and stir just until blended.
Divide batter evenly among muffin cups. Bake until risen and golden brown, about 25 minutes. Carefully remove muffins from pan and place on a rack until cool enough to handle. Serve warm or at room temperature.
* homemade buttermilk: to make 1 cup buttermilk place 1 tablespoon lemon juice in a 240ml-capacity measuring cup and complete with whole milk (room temperature). Wait 10 minutes for it to thicken slightly, then use the whole mixture in your recipe
Makes 12
Monday, September 22, 2014
Granola muffins
Friday, September 19, 2014
Rye and stout bread and food waste
I was watching Save with Jamie the other day and besides the delicious recipes (I drooled over his beautiful panzanella and have been dreaming about the beef rendang with homemade chapatis, yum! ) I find it really great that he shows (with numbers) the insane amount of food that goes to waste for absolutely no reason – the show takes place in England, but I know that here in Brazil things are not any different.
I had to take responsibility for my home at a very early age and since I did all the shopping and cooking I had to be smart: there were four of us and nothing could go to waste. Luckily for me my brother was the only picky eater among us: my father and sister ate pretty much anything I cooked, and because they were fearless eaters I could experiment and try new things whenever I wanted to.
Leftover rice and pasta were quickly transformed into fritters, leftover tomato salad was placed in the fridge to be added to tomato sauce some other time, leftover greens were folded into beaten eggs for a delicious omelet – that’s how I managed the kitchen back then, and that made me learn a lot about food, long before blogs, cookbooks and TV shows. That is why I love how Jamie shows people how to transform ingredients into something else entirely – his tips are great.
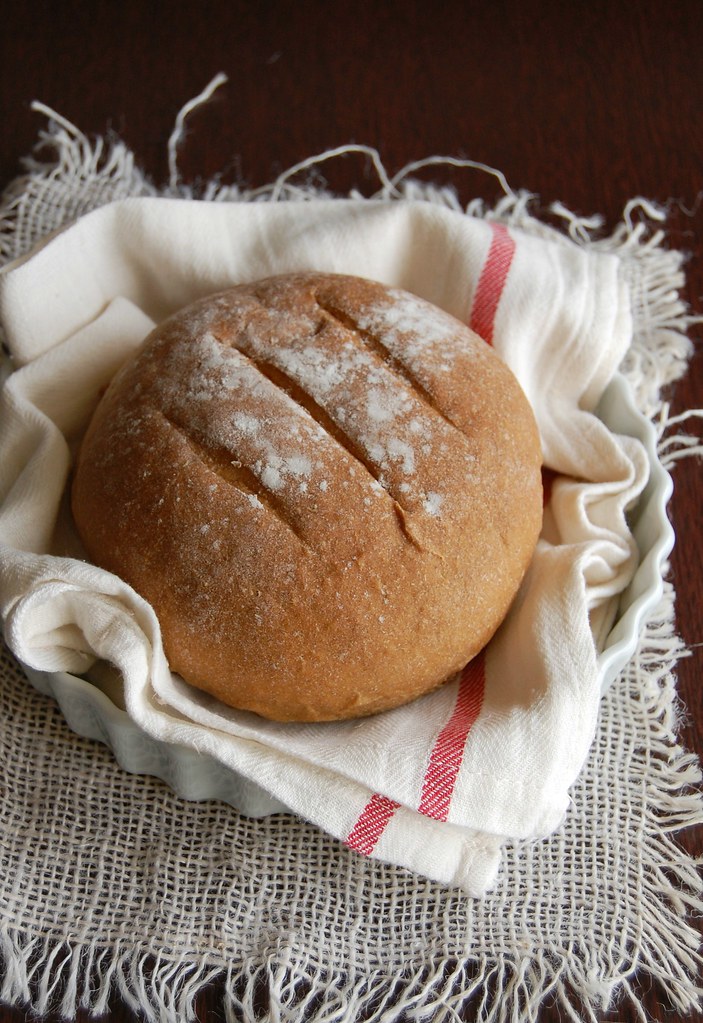
When I made Nigella’s stout cake a while ago there was some leftover beer and since I wasn’t going to drink it I had to do something useful with it, and this bread was the result: I avoided wasting expensive beer and we had delicious open sandwiches for lunch, made with freshly baked bread – if that’s not a wonderful thing I don’t know what is. :)
Rye and stout bread
slightly adapted from the always gorgeous Gourmet Traveller
150g rye flour
1 teaspoon dried yeast
100ml stout beer
1 tablespoon molasses
1 teaspoon table salt, divided use
1 cup (240ml) lukewarm water
350g all purpose flour
Combine rye flour, yeast, beer, molasses, ½ teaspoon of the salt and water in an electric mixer fitted with a dough hook. Set aside in a warm place until foaming (5-8 minutes), add all purpose flour and remaining salt and knead until smooth (5 minutes). Transfer to a lightly oiled bowl, turn to coat, cover with plastic wrap and set aside in a warm place until doubled in size (1 ½ - 2 hours).
Line a large baking sheet with foil. Knock back dough and knead on a lightly floured surface until smooth, dusting with flour if necessary. Divide in half, then roll each half into a smooth ball. Dust top with a bit of flour, transfer to the prepared sheet, cover with a tea towel and set aside in a warm place until doubled in size (1 hour).
In the meantime, preheat oven to 180°C/350°F. Bake until loaves are deep golden and sound hollow when tapped (30-40 minutes). Transfer to a wire rack, cool slightly, then serve warm or at room temperature.
Makes 2 small loaves
Thursday, September 18, 2014
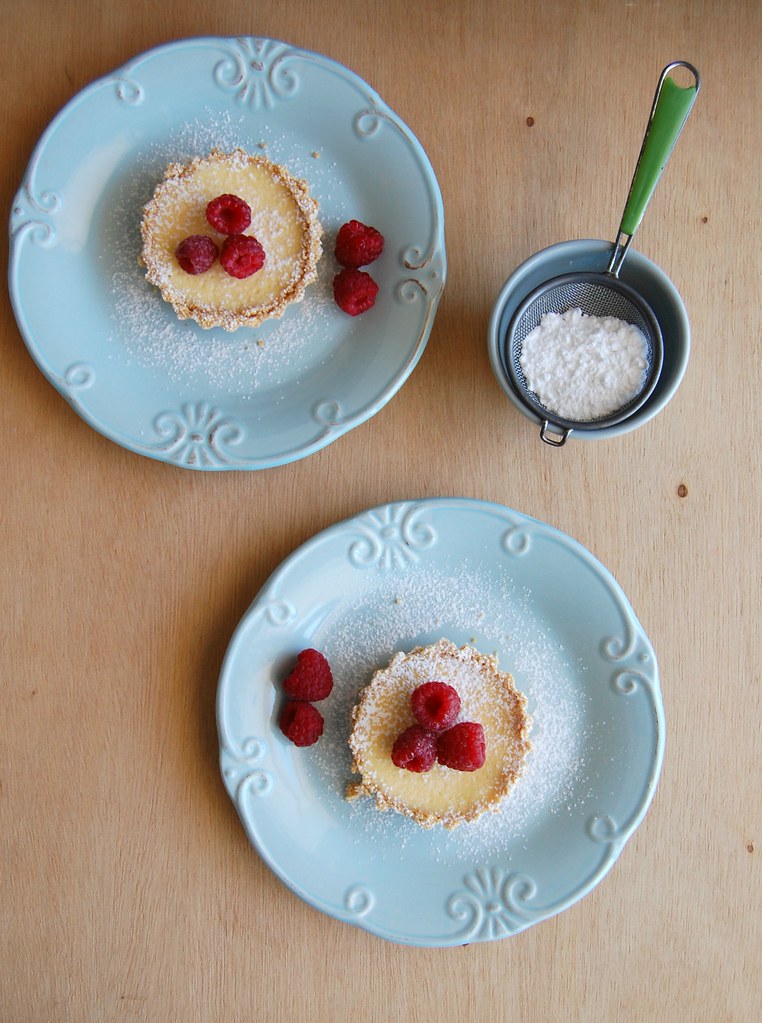
Lemon cheesecake tartlets - recipe with a video
Months ago, my sister told me she had to do a project for school: she and her colleagues would have to create a recipe video and she asked for my help. :)
The kids – they’re twenty years old, I call them kids – came to my house on a Saturday and we had an amazing afternoon together. We recorded the video – actually, they recorded me making tartlets – and it was a lot of fun (and a lot of work, too).
By the end of the session, I served cake and cookies to my guests and they told my sister that from that moment on they wanted to do all the future projects at my house. :D
So here it is: the video and the recipe right after it. I hope you enjoy watching my freckled hands in action! :)
Lemon cheesecake tartlets
slightly adapted from the always beautiful Donna Hay magazine
Base:
100g digestive cookies
30g unsalted butter, melted and cooled
Filling:
1 cup cream cheese, room temperature
1/3 cup granulated sugar
¼ cup sour cream*
pinch of salt
½ teaspoon vanilla extract
finely grated zest of 1 lemon
1 egg
100g raspberries
Butter six 8cm-tartlet pans (with removable bottoms). Place the cookies in a food processor and blitz until ground. Add the butter and process to combine. With your fingertips, press the mixture into the pans and refrigerate for 30 minutes.
Preheat the oven to 150°C/300°F. In a medium bowl, whisk together the cream cheese, sugar, sour cream, salt, vanilla and lemon zest. Whisk in the egg, then pour it over the base. Bake for 15 minutes or until slightly firm. Cool completely then refrigerate for 1 hour.
Dust with icing sugar, pop with the raspberries and serve.
* homemade sour cream: to make 1 cup of sour cream, mix 1 cup (240ml) heavy cream with 2-3 teaspoons lemon juice in a bowl. Whisk until it starts to thicken. Cover with plastic wrap and leave at room temperature for 1 hour or until thicker (I usually leave mine on the counter overnight – except on very warm nights – and it turns out thick and silky in the following morning; refrigerate for a creamier texture)
Makes 6
Wednesday, September 17, 2014
Back from vacation with apricot jam cake
Hello, everyone!
I am back after spending wonderful vacation days in Spain: beautiful places, delicious food and massive amounts of Cava. :D
I returned home very happy, but also a couple of pounds heavier, even though I walked around a lot while I was there – one can’t eat all that jamón and pan con tomate and get away with it, right? :) I intend to eat lots of vegetables and fruit in the weeks to come (there’s a huge pot of vegetable soup already in my fridge), but I know I can’t survive without a slice of cake on the weekend.
Moderation is my mantra. ;)
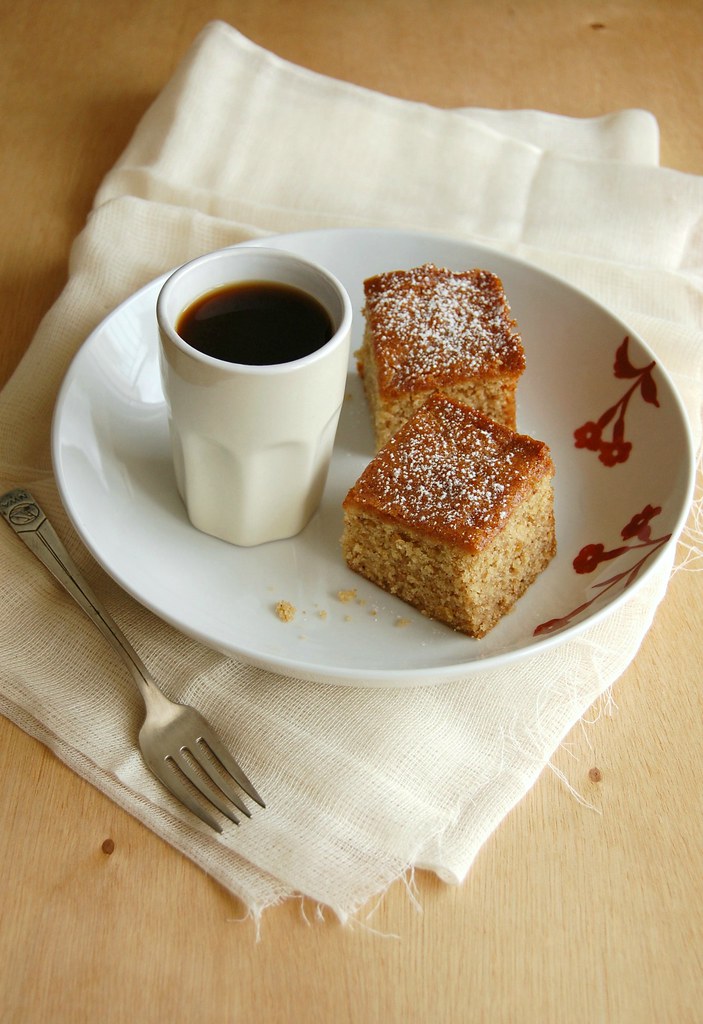
If you’re like me, may I suggest this jam cake? It tastes delicious and it is very tender – don’t worry if the center sinks a bit, it’s totally OK because of the weight of the jam added to the batter. I haven’t tried it with other jam flavors, but I believe it would work with something sharp, not too sweet.
Apricot jam cake
from one of my favorite cookbooks
1 ½ cups (210g) all purpose flour
1 teaspoon baking powder
½ teaspoon ground cinnamon
¼ teaspoon ground cloves
¼ teaspoon baking soda
1/8 teaspoon table salt
6 tablespoons (85g) unsalted butter, softened
150g light brown sugar
1 cup apricot jam
2 eggs, room temperature
2 tablespoons sour cream
Preheat the oven to 180°C/350°F. Butter a 20cm (8in) square cake pan, line the bottom with baking paper, butter the paper as well and flour everything, removing the excess.
In a medium bowl, whisk together the flour, baking powder, cinnamon, cloves, baking soda and salt.
In a large bowl, using an electric mixer, cream the butter and sugar until light and fluffy. Beat in the jam until smooth. Beat in the eggs, one at a time. Scrape the sides of the bowl occasionally.
Add the sour cream and mix until smooth. With the mixer on low speed, gradually add the flour mixture and beat just until combined.
Pour the batter into the prepared pan and bake for about 50 minutes or until golden, risen and a toothpick inserted in the center of the cake comes out clean.
Cool completely in the pan. Carefully unmold, remove the paper and invert onto a serving plate.
* homemade sour cream: to make 1 cup of sour cream, mix 1 cup (240ml) heavy cream with 2-3 teaspoons lemon juice in a bowl. Whisk until it starts to thicken. Cover with plastic wrap and leave at room temperature for 1 hour or until thicker (I usually leave mine on the counter overnight – except on very warm nights – and it turns out thick and silky in the following morning; refrigerate for a creamier texture)
Serves 8
Monday, September 1, 2014
Monte Carlos - beautiful and delicious
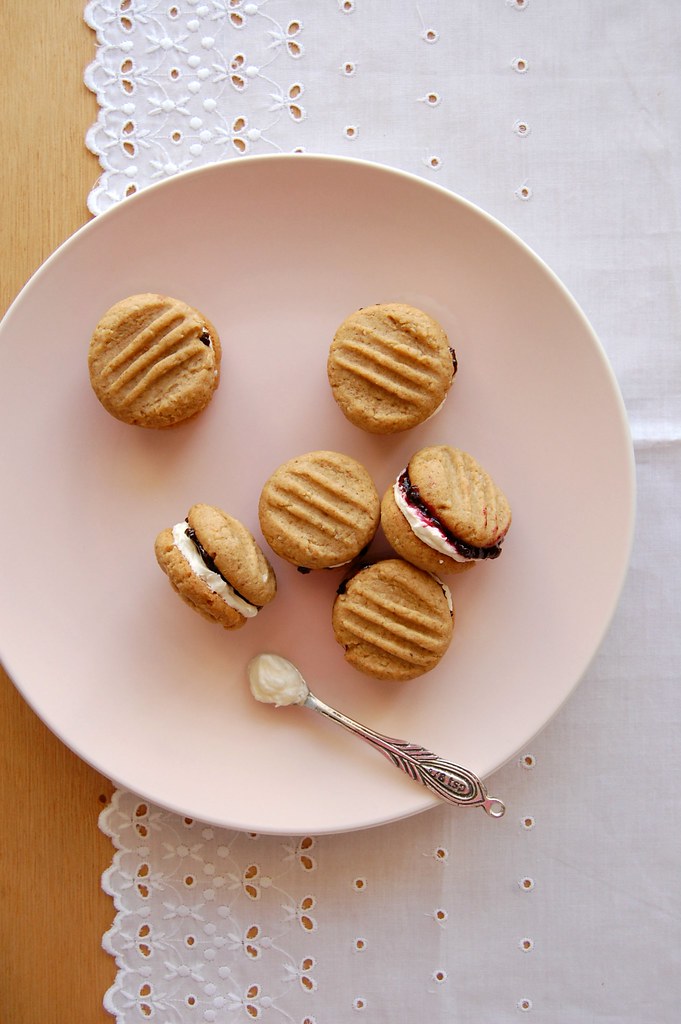
Since I'm all for food that looks beautiful, it won't come as a surprise for you that the minute I saw these cookies I had to make them: delicate and pretty, they looked like miniature versions of a Victoria sandwich, with the cream and jam layers.
When I tried one cookie, I noticed that they weren't just pretty: they were delicious as well. The beautiful and flavorsome combo reminded me of The Great British Bake Off and how annoying Paul Hollywood was on the fourth season, telling one contestant over and over again that she was a case of "style over substance" - needless to say, by the end of that season I couldn't stand the show anymore.
These cookies, my friends, are definitely not a case of style over substance - they are cute and taste great. Give these a go and let me know if you agree with me.
Monte Carlos
slightly adapted from the beautiful and delicious The Baking Collection (The Australian Women's Weekly)
Cookies:
200g all purpose flour
100g whole wheat flour
2 teaspoons baking powder
pinch of salt
40g desiccated unsweetened coconut
185g unsalted butter, softened
110g light brown sugar
1 teaspoon vanilla
1 egg
Filling:
60g unsalted butter, softened
120g icing sugar, sifted
1 teaspoon vanilla extract
2 teaspoons whole milk, room temperature
about 50g blackberry jam
Preheat the oven to 180°/350°F. Line two large baking sheets with baking paper.
In a medium bowl, whisk together flours, baking powder, salt and coconut. Using an electric mixer, beat butter, sugar and vanilla until light and creamy. Beat in the egg. On low speed, add the dry ingredients and mix just until incorporated.
For each cookie, roll 1 leveled tablespoon of dough , place 2,5cm (1in) apart onto prepared sheets and flatten with a fork. Bake for 12-15 minutes or until golden on the edges. Cool on the sheets for 2 minutes, then slide the paper with the cookies to a wire rack and cool completely.
Cream filling: using an electric mixer, beat butter, sugar and vanilla and light and fluffy. Beat in milk.
Spread jam in half the cookies and cream in the remaining half, then sandwich them together.
Makes 22 sandwich cookies