Last night was a nightmare – there was a huge storm here in Sao Paulo and several places in the city were flooded. I left work at 6pm and got home at 11... It usually takes me 1 hour to do the same thing everyday. I was so tired that after a shower I fell asleep in less than 5 minutes.
Being inside of a practically parked car for 5 hours is no fun, let me tell you, but at least I had some music to keep me company. I definitely wanted something cheerful – I love Smiths and Silverchair, but that is not the kind of music one needs in times of desperation; those are times for the Australian pint-sized diva.
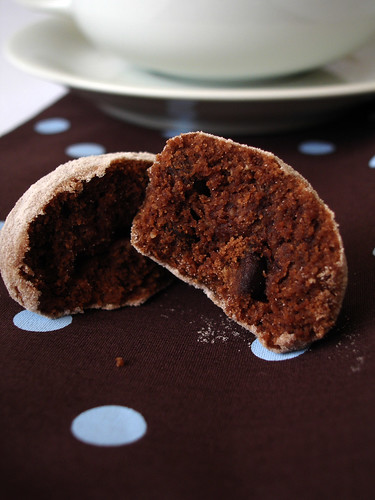
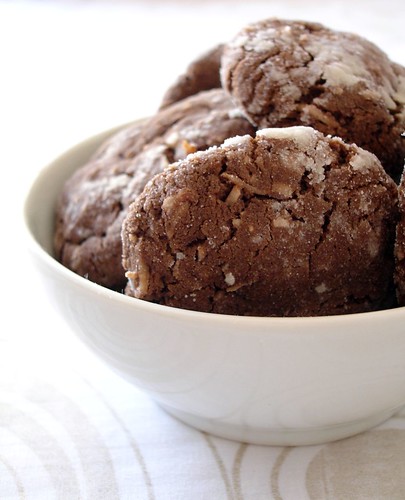
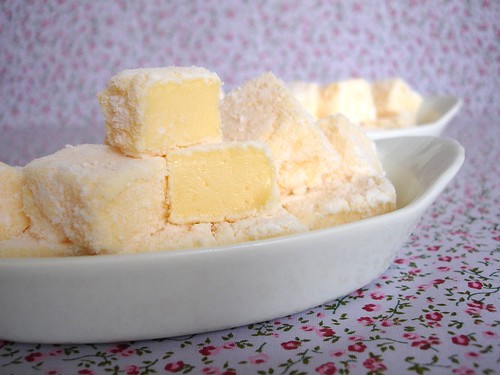
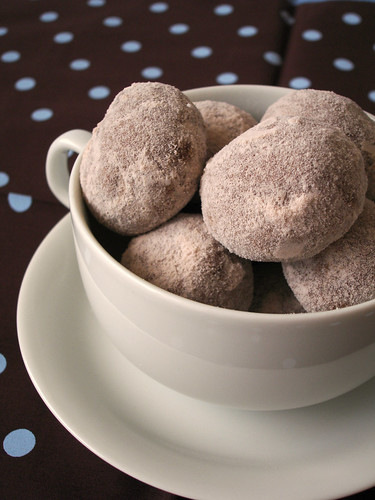
Besides good music, there’s something else I crave in moments of tension: sweets. Can’t tell you how many times these cookies crossed my mind last night. :D
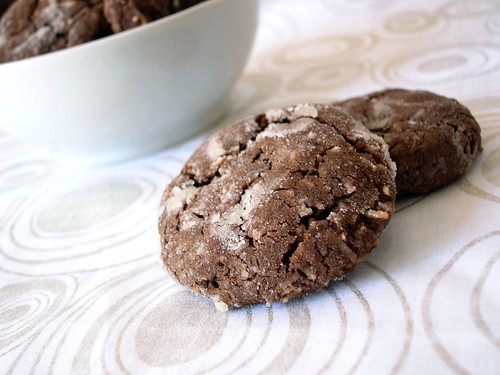
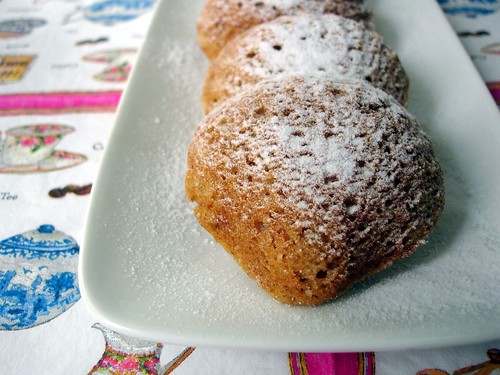
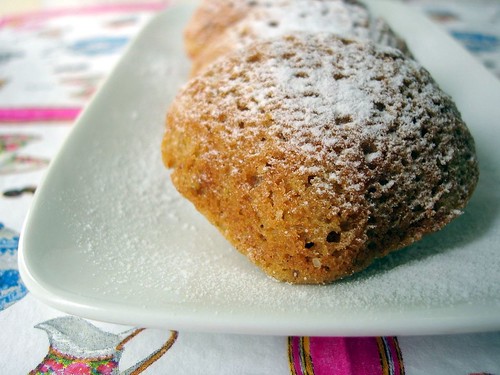
Cocoa-chocolate chip pillows
slightly adapted from Baking by Flavor
Cookie dough:
2 cups (280g) all-purpose flour
¼ cup + 1 tablespoon (30g) unsweetened Dutch processed (alkalized) cocoa powder
1 teaspoon baking powder
1/8 teaspoon cream of tartar
1/8 teaspoon salt
1 cup (226g/2 sticks) unsalted butter, melted and cooled
½ cup (70g) unsifted confectioners’ sugar
2 ½ teaspoons vanilla extract
¼ cup + 1 tablespoon ground almonds
2/3 cup (115g) semisweet chocolate chips
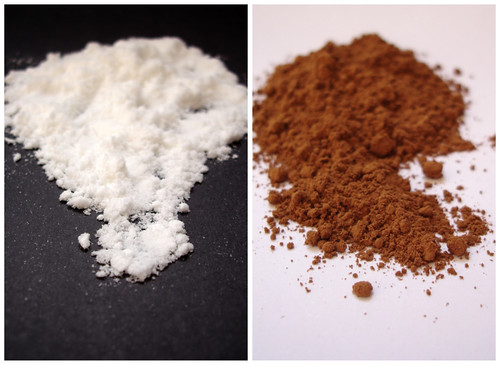
Cocoa rolling mixture*:
1 ¾ cups (245g) confectioners’ sugar
1 teaspoon unsweetened Dutch processed (alkalized) cocoa powder
Preheat oven to 175ºC/350ºF; line two large baking sheets with parchment paper. (Cookie sheets need to be heavy to prevent bottoms of cookies from scorching. Use one sheet on top of another, if necessary.)
Make the dough: sift together flour, cocoa, baking powder, cream of tartar and salt in a bowl. Set aside.
Place melted butter in a large mixing bowl. Sift over the confectioners’’ sugar and mix it in with a wooden spoon; the mixture will have small lumps of sugar. Blend in vanilla extract and almonds. Stir in half of sifted flour mixture and all the chocolate chips. Stir in half of the remaining flour mixture, then the rest. Dough will be malleable and workable.
Spoon up scant-tablespoon quantities of dough and roll into chubby balls. Place balls about 5cm (2in) apart on prepared sheets.
Bake for 13 to 15 minutes or until set; tops will crack slightly here and there. Let cookies stand on sheets 1 minute, then carefully remove them to cooling racks, using an offset metal spatula. Cool 5 to 8 minutes.
Rolling mixture: sift together confectioners' sugar and cocoa into large bowl. While cookies are still warm, carefully dredge them, a few at a time, in sugar-cocoa mixture to coat, then transfer to a sheet of waxed paper to cool. Dredge them lightly again, if you wish – the cookies will look prettier.
Store airtight at room temperature up to 5 days.
* there was a lot of mixture left – I believe that half of it would be enough to coat all the cookies
Makes 3 dozen cookies – I halved the recipe and got 19