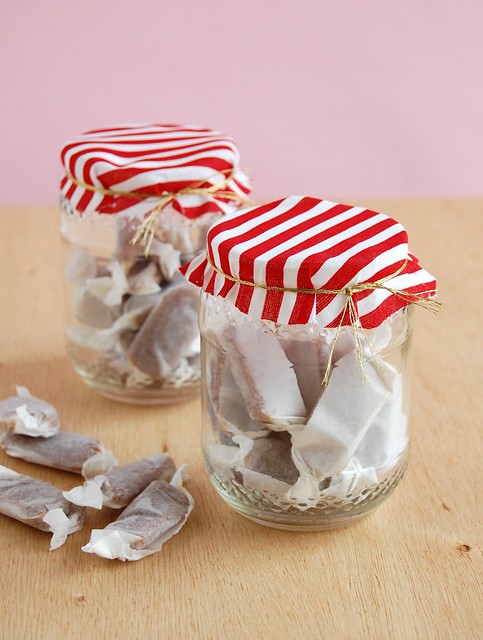
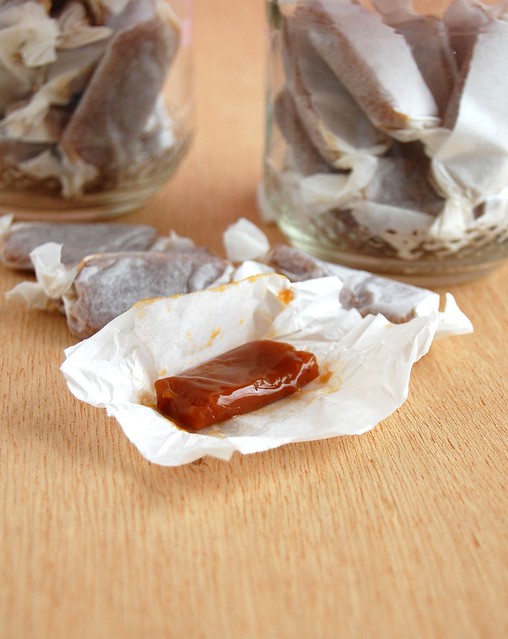
My friend Ana Elisa’s adventure in making torrone reminded me of how much work these caramels were: it took forever for the mixture to achieve the desired temperature, and I was melting in my kitchen while stirring it; after that, another century went by before I finished cutting them, oiled knife and all. Not to mention they were super soft and hard to wrap, too.
You’ll probably ask me why on earth I am posting such recipe – well, all the trouble slipped my mind the minute I tasted one caramel. :)
Gingerbread caramels
adapted from Pure Dessert, flavor idea from here
¾ cup corn syrup
¼ cup molasses
2 cups (400g) caster (superfine) sugar
¼ teaspoon salt
2 cups (480ml) heavy cream
½ teaspoon ground cinnamon
¼ teaspoon ground ginger
¼ teaspoon freshly ground nutmeg
1/8 teaspoon ground cloves
3 tablespoons (42g) unsalted butter, cut into chunks, softened
Line the bottom and sides of a 22cm (9in) square pan with aluminum foil and grease the foil. Combine the corn syrup, molasses, sugar, and salt in a heavy 3 liter (3-quart) saucepan and cook over medium heat, stirring with a silicone spatula or wooden spoon, until the mixture begins to simmer around the edges. Wash the sugar and syrup from the sides of the pan with a pastry brush dipped in water. Cover and cook for about 3 minutes. (Meanwhile, rinse the spatula or spoon before using it again later.) Uncover the pan and wash down the sides once more. Attach the candy thermometer to the pan, without letting it touch the bottom of the pan, and cook, uncovered (without stirring) until the mixture reaches 150°C/305°F. Meanwhile, heat the cream with the spices in a small saucepan until tiny bubbles form around the edges of the pan. Turn off the heat and cover the pan to keep the cream hot.
When the sugar mixture reaches 150°C/305°F, turn off the heat and stir in the butter chunks. Gradually stir in the hot cream; it will bubble up and steam dramatically, so be careful. Turn the burner back on and adjust it so that the mixture boils energetically but not violently. Stir until any thickened syrup at the bottom of the pan is dissolved and the mixture is smooth. Continue to cook, stirring occasionally, to about 118°C/245°F. Then cook, stirring constantly, to 126°C/260°F for soft, chewy caramels or 129°C/265°F for firmer chewy caramels.
Remove the pan from the heat pour the caramel into the prepared pan. Let set for 4 to 5 hours, or overnight until firm.
Lift the pan liner from the pan and invert the sheet of caramel onto a sheet of parchment paper. Peel off the liner. Cut the caramels with an oiled knife. Wrap each caramel individually in wax paper or cellophane.
* the flavor of the spices was very discreet in the finished caramels, so you might want to increase the amounts for a real gingerbread kick
Makes about 80 – I got 100


13 comments:
Oh my goodness, gingerbread caramels! That's genius. I'm going to try this and increase the amount of spices like you suggested in order to increase the spiciness. Sounds soooo good.
Well, these sound amazing, though the work load is a bit off-putting.
They do sound like they would be worth a lot of trouble...yum!
Oh my I would love to receive these candies for Christmas.
The pictures are amazing, as are the caramels :))
What a lovely and festive holiday gift. Thank you so much for the recipe - these are such fun!
I think I would love to give these as gifts, but by the time I finally finished making them I would feel like I actually just deserved to eat them all myself after that effort. :)
I made these too, from Martha's recipe. They took forever to get to temperature. I was exhausted, then I let them set and they were still really soft. I had to pop them in the freezer to be able to cut them. BUT they do taste amazing!
I dont know, I'm certain I'd still make these with all the work involved! They sound so good!
My husband would go bonkers over these! I'm thinking I may give this recipe a try :)!
These sound divine, Patricia! I love the spice addition. Definitely worth the work. Mmmmm!!
wow i'd love to try these...molasses sound great!
I'm glad these were worth the effort. They look and sound quite amazing :).
Post a Comment