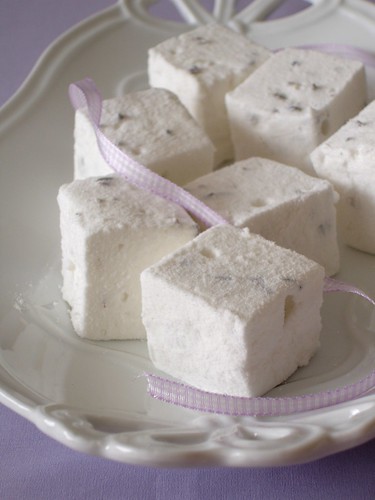
Thank you for so many great ideas and suggestions on the lavender marshmallows – I knew you would help me out. I’ll keep you posted about my lavender experiments. :D
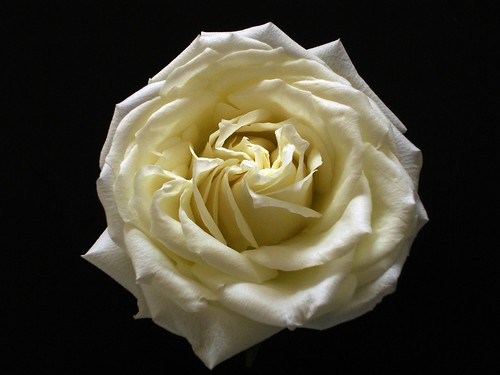
Once again, flowers – this time, roses paired with a flavor that comes from an orchid... It almost feels like spring.
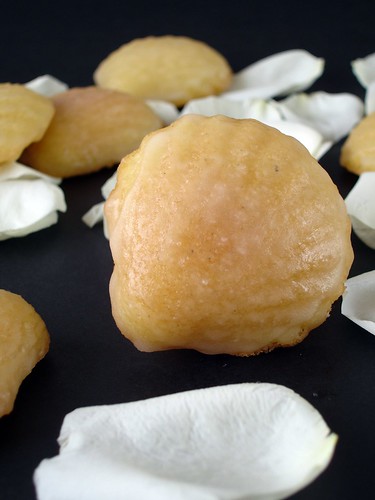
Vanilla and rosewater madeleines
from Donna Hay magazine
2 eggs
75g caster sugar
1 vanilla bean, split and seeds scraped
75g all purpose flour
1 teaspoon baking powder
80g butter, melted
Rosewater icing:
160g confectioners’ sugar, sifted
40ml boiling water
¼ teaspoon rosewater
Preheat the oven to 180ºC/350ºF. Place the eggs, sugar and vanilla seeds in a bowl and whisk to combine. Sift over the flour and baking powder and whisk to combine. Add the butter and whisk until combined. Spoon the mixture into a 12-hole greased madeleine pan. Bake for 8-10 minutes or until cooked when tested with a skewer. Cool on a wire rack – they were easily removed from the pan once cold.
To make the icing, place the confectioners’ sugar, water and rosewater in a bowl and mix to combine – or add the water gradually and check for icing consistency.
Place the rack of cooled madeleines over a baking tray and spoon over the icing and allow to set – I found it easier to quickly dunk the madeleines in the icing; I let them dry and then repeated the process so the icing would be thicker.
Makes 12 – I got 9 like the ones on the photos and 15 smaller ones